Manage Channel
As an administrator, you can configure the channels in GlobaLeaks.
Add Channel
-
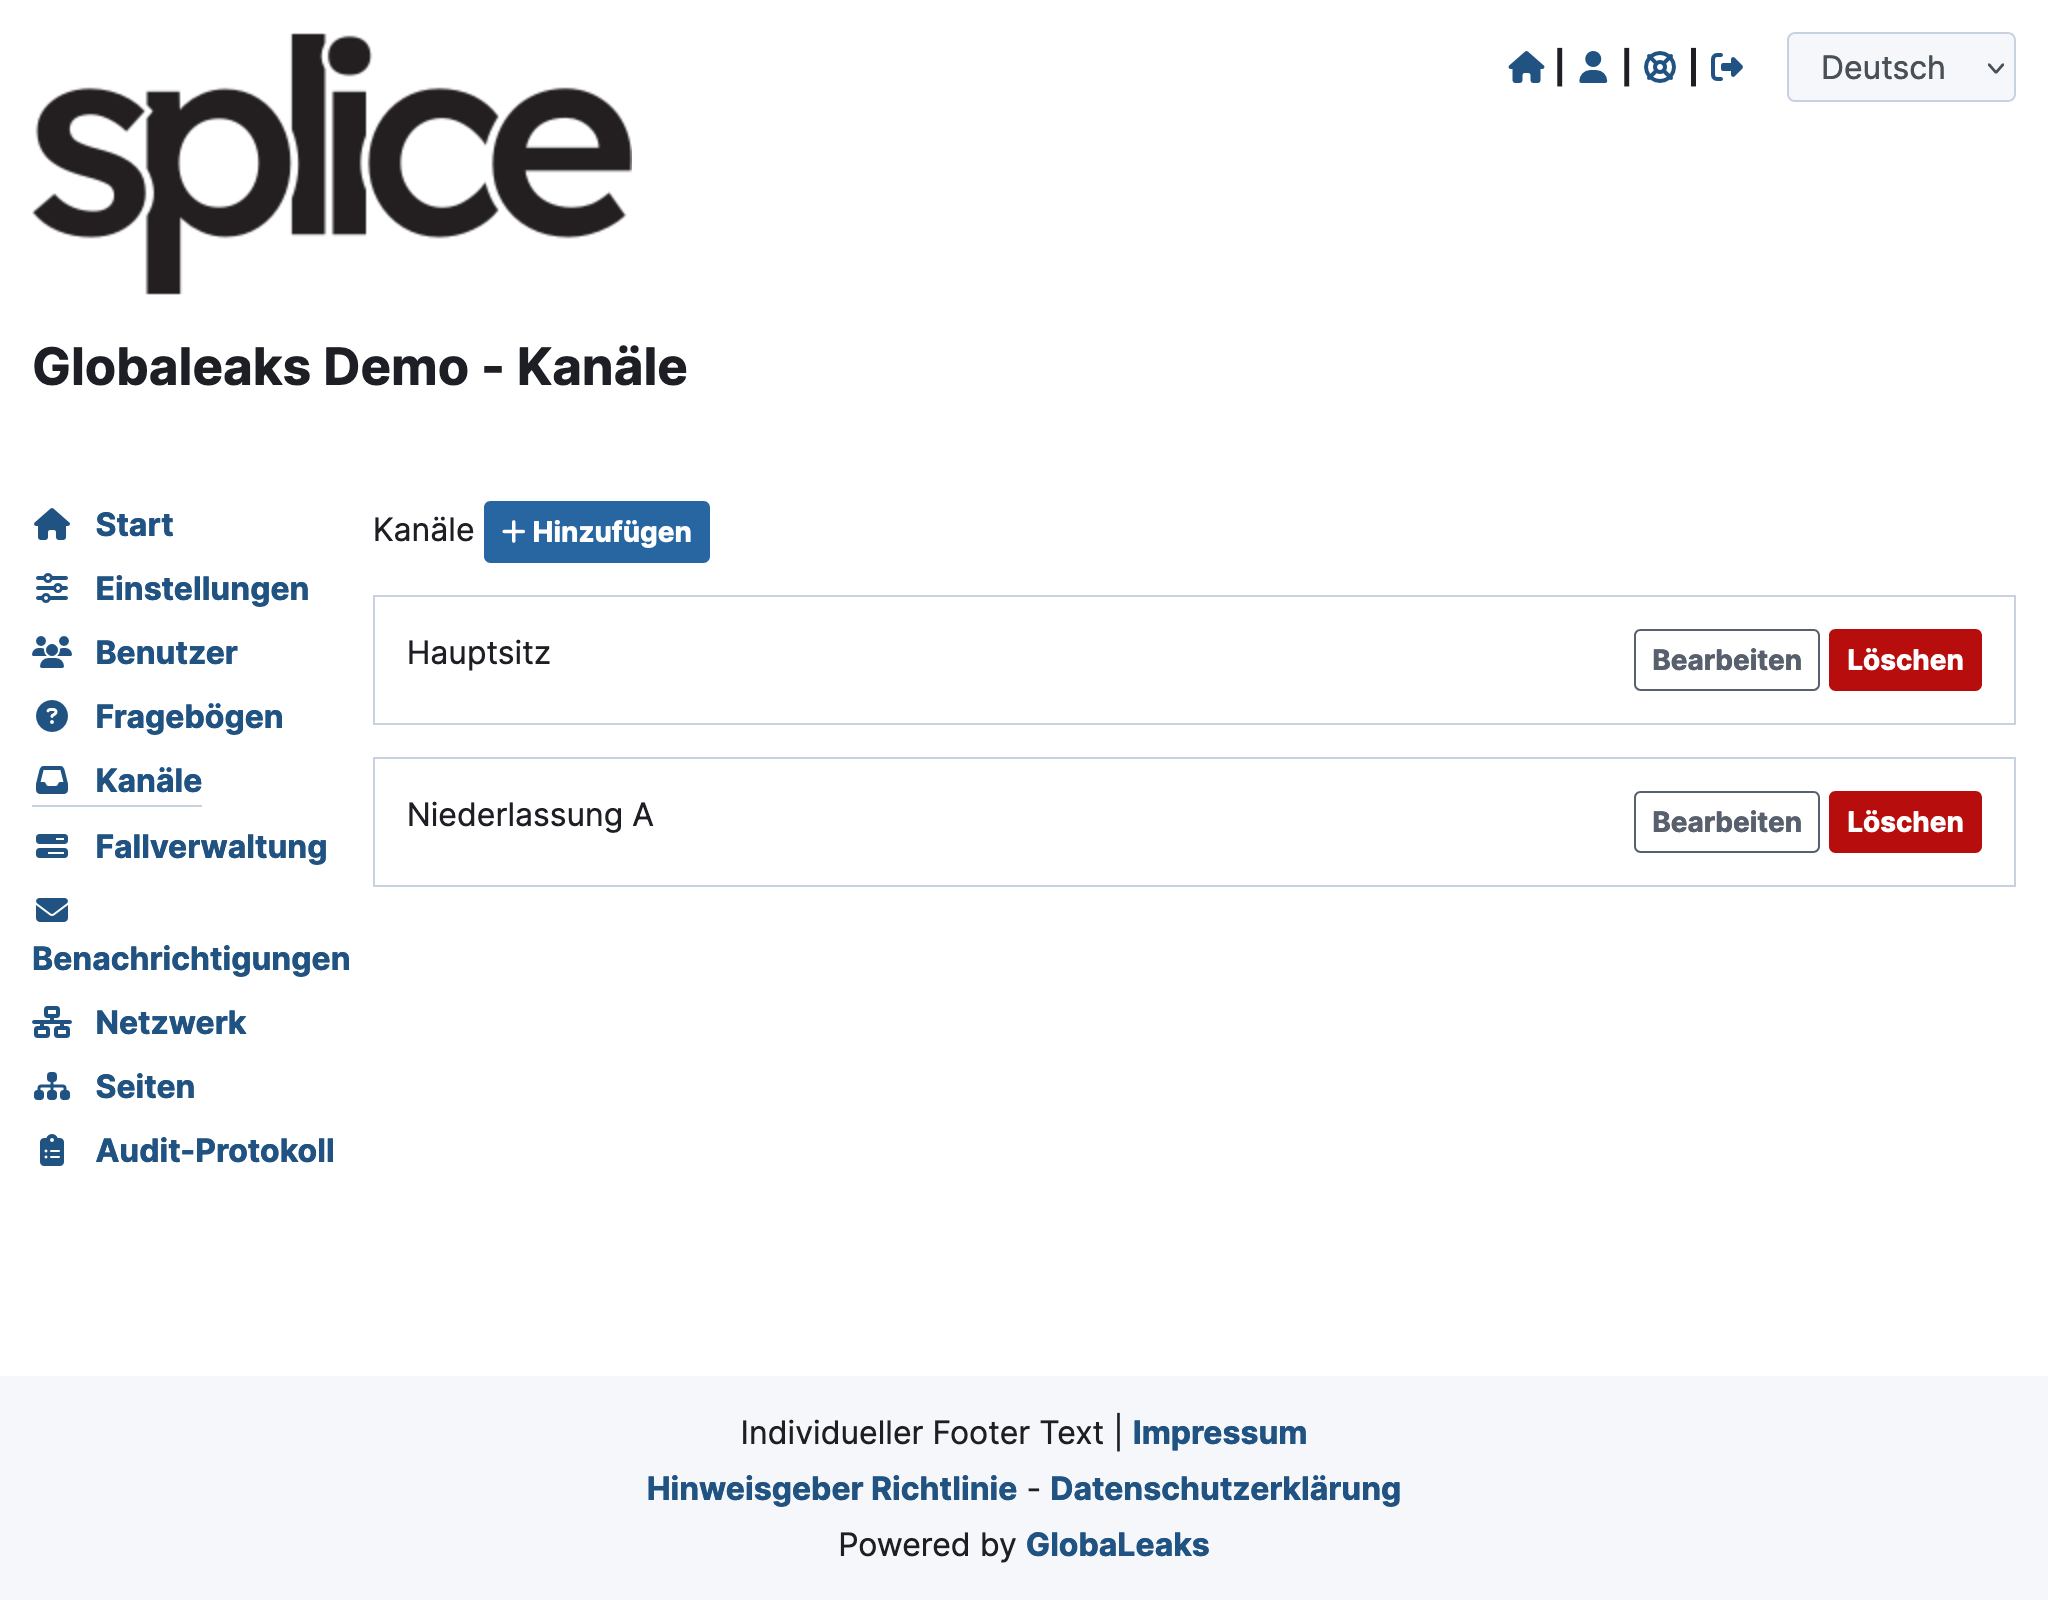
Go to Channels and click on Add.
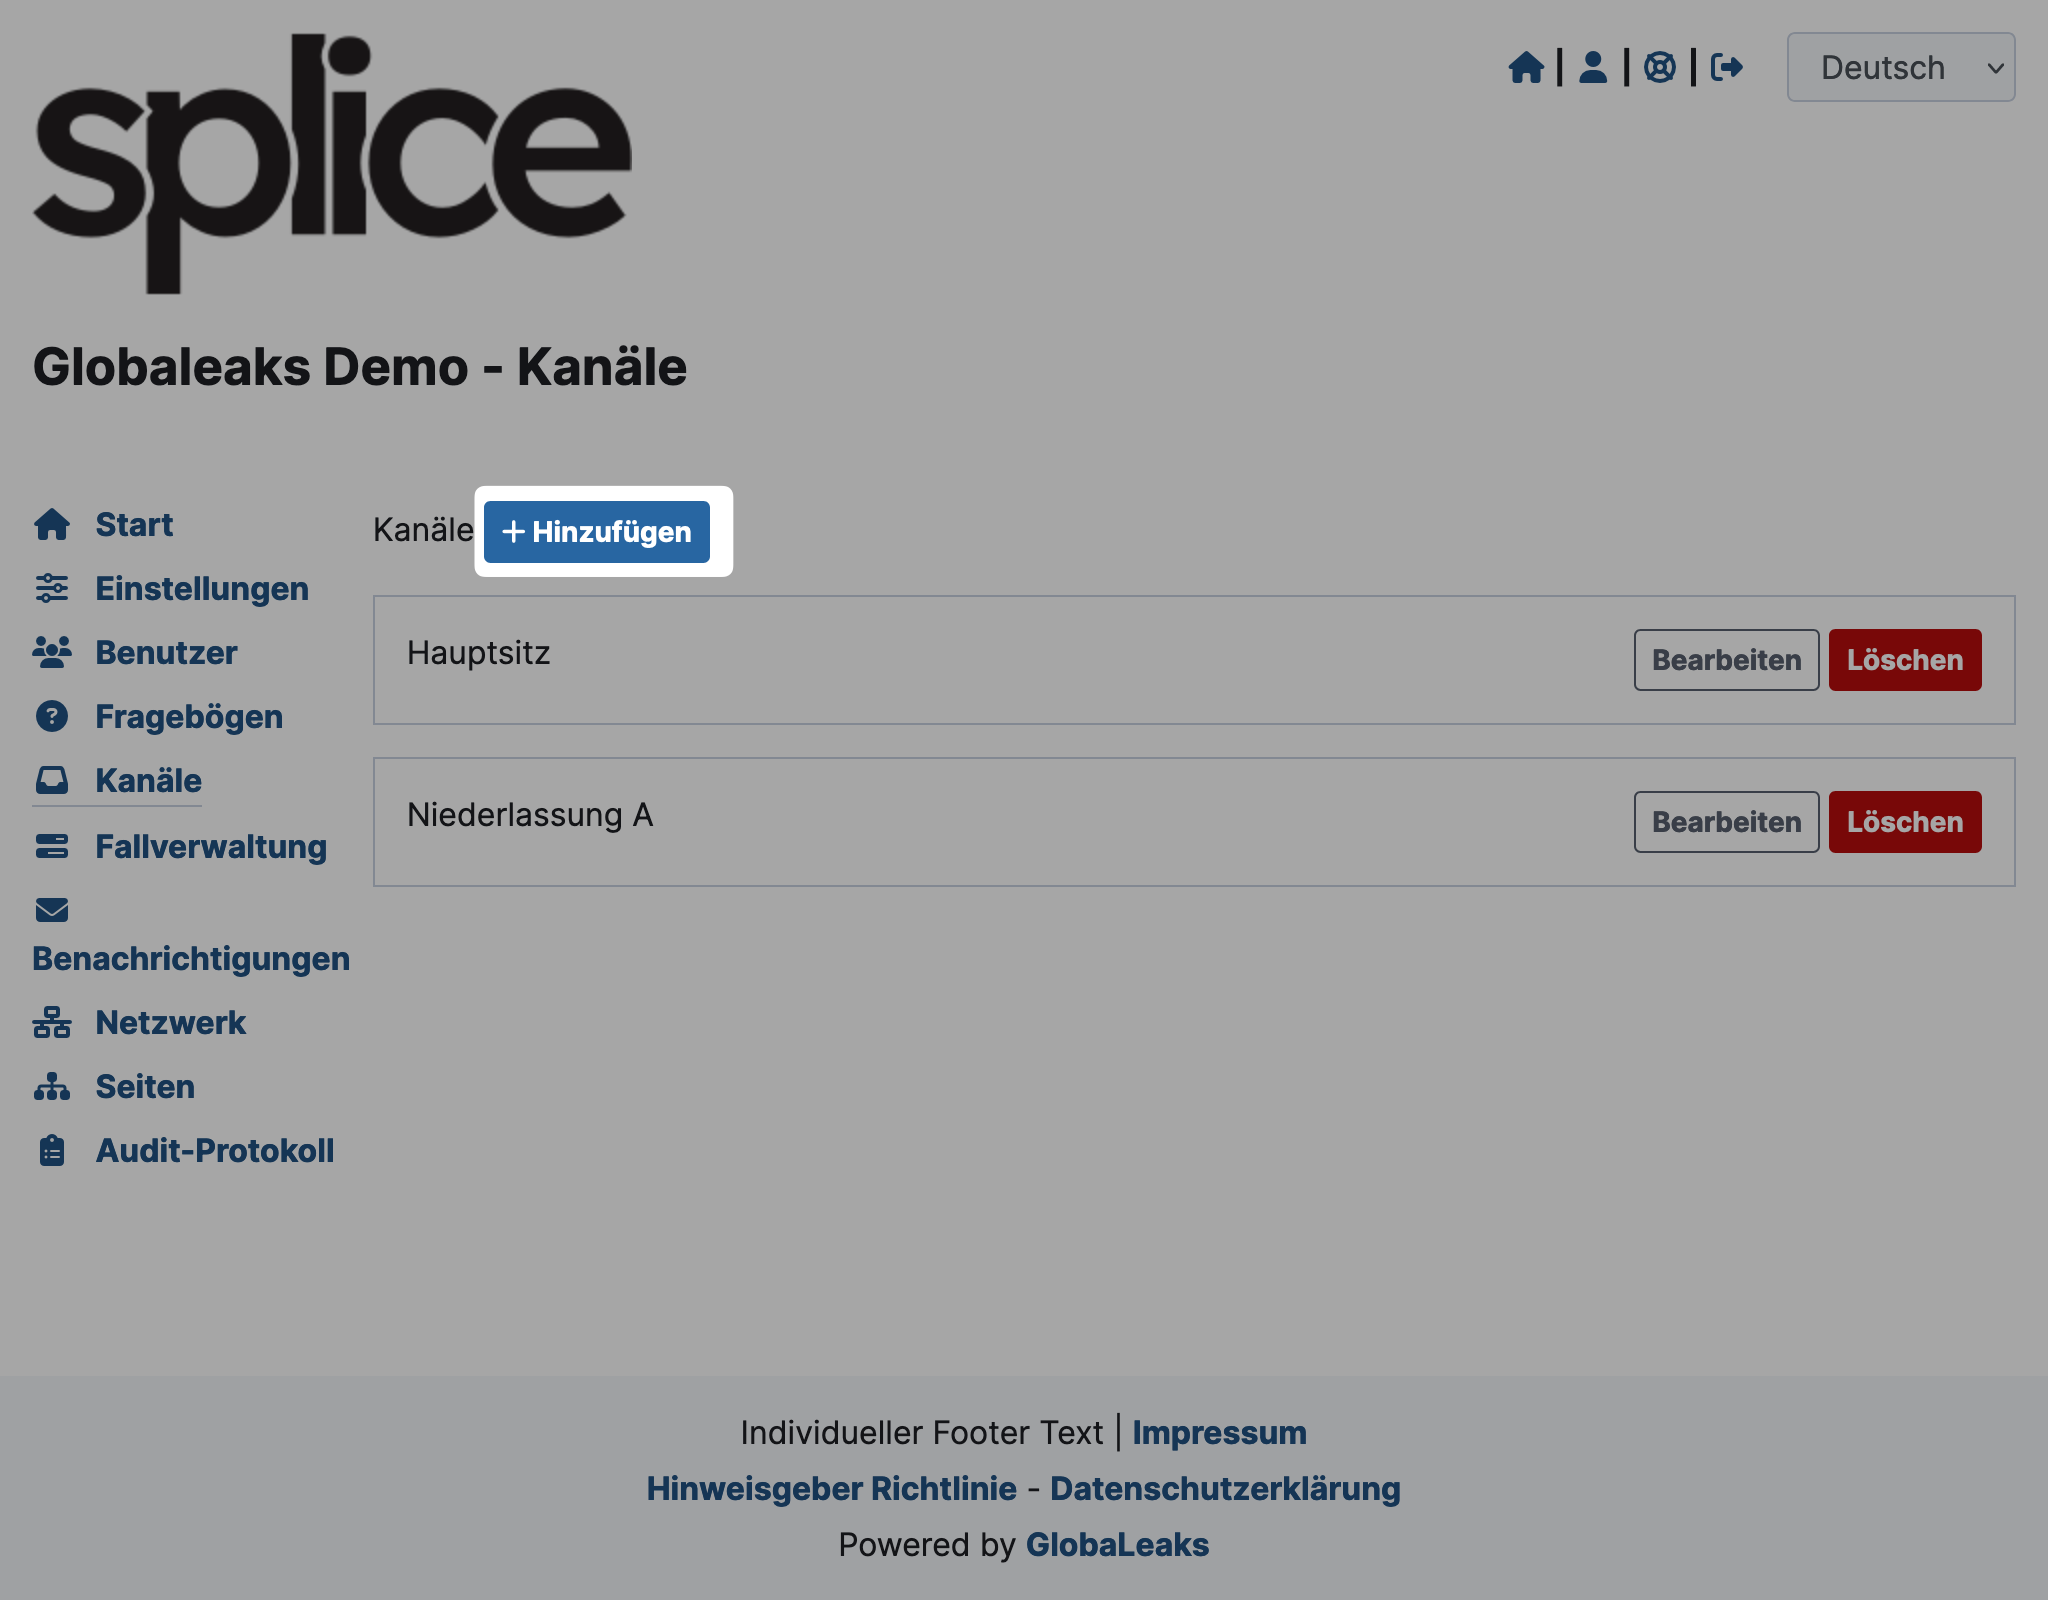
-
A form will open. Enter the name of the channel (publicly visible) and click Add.
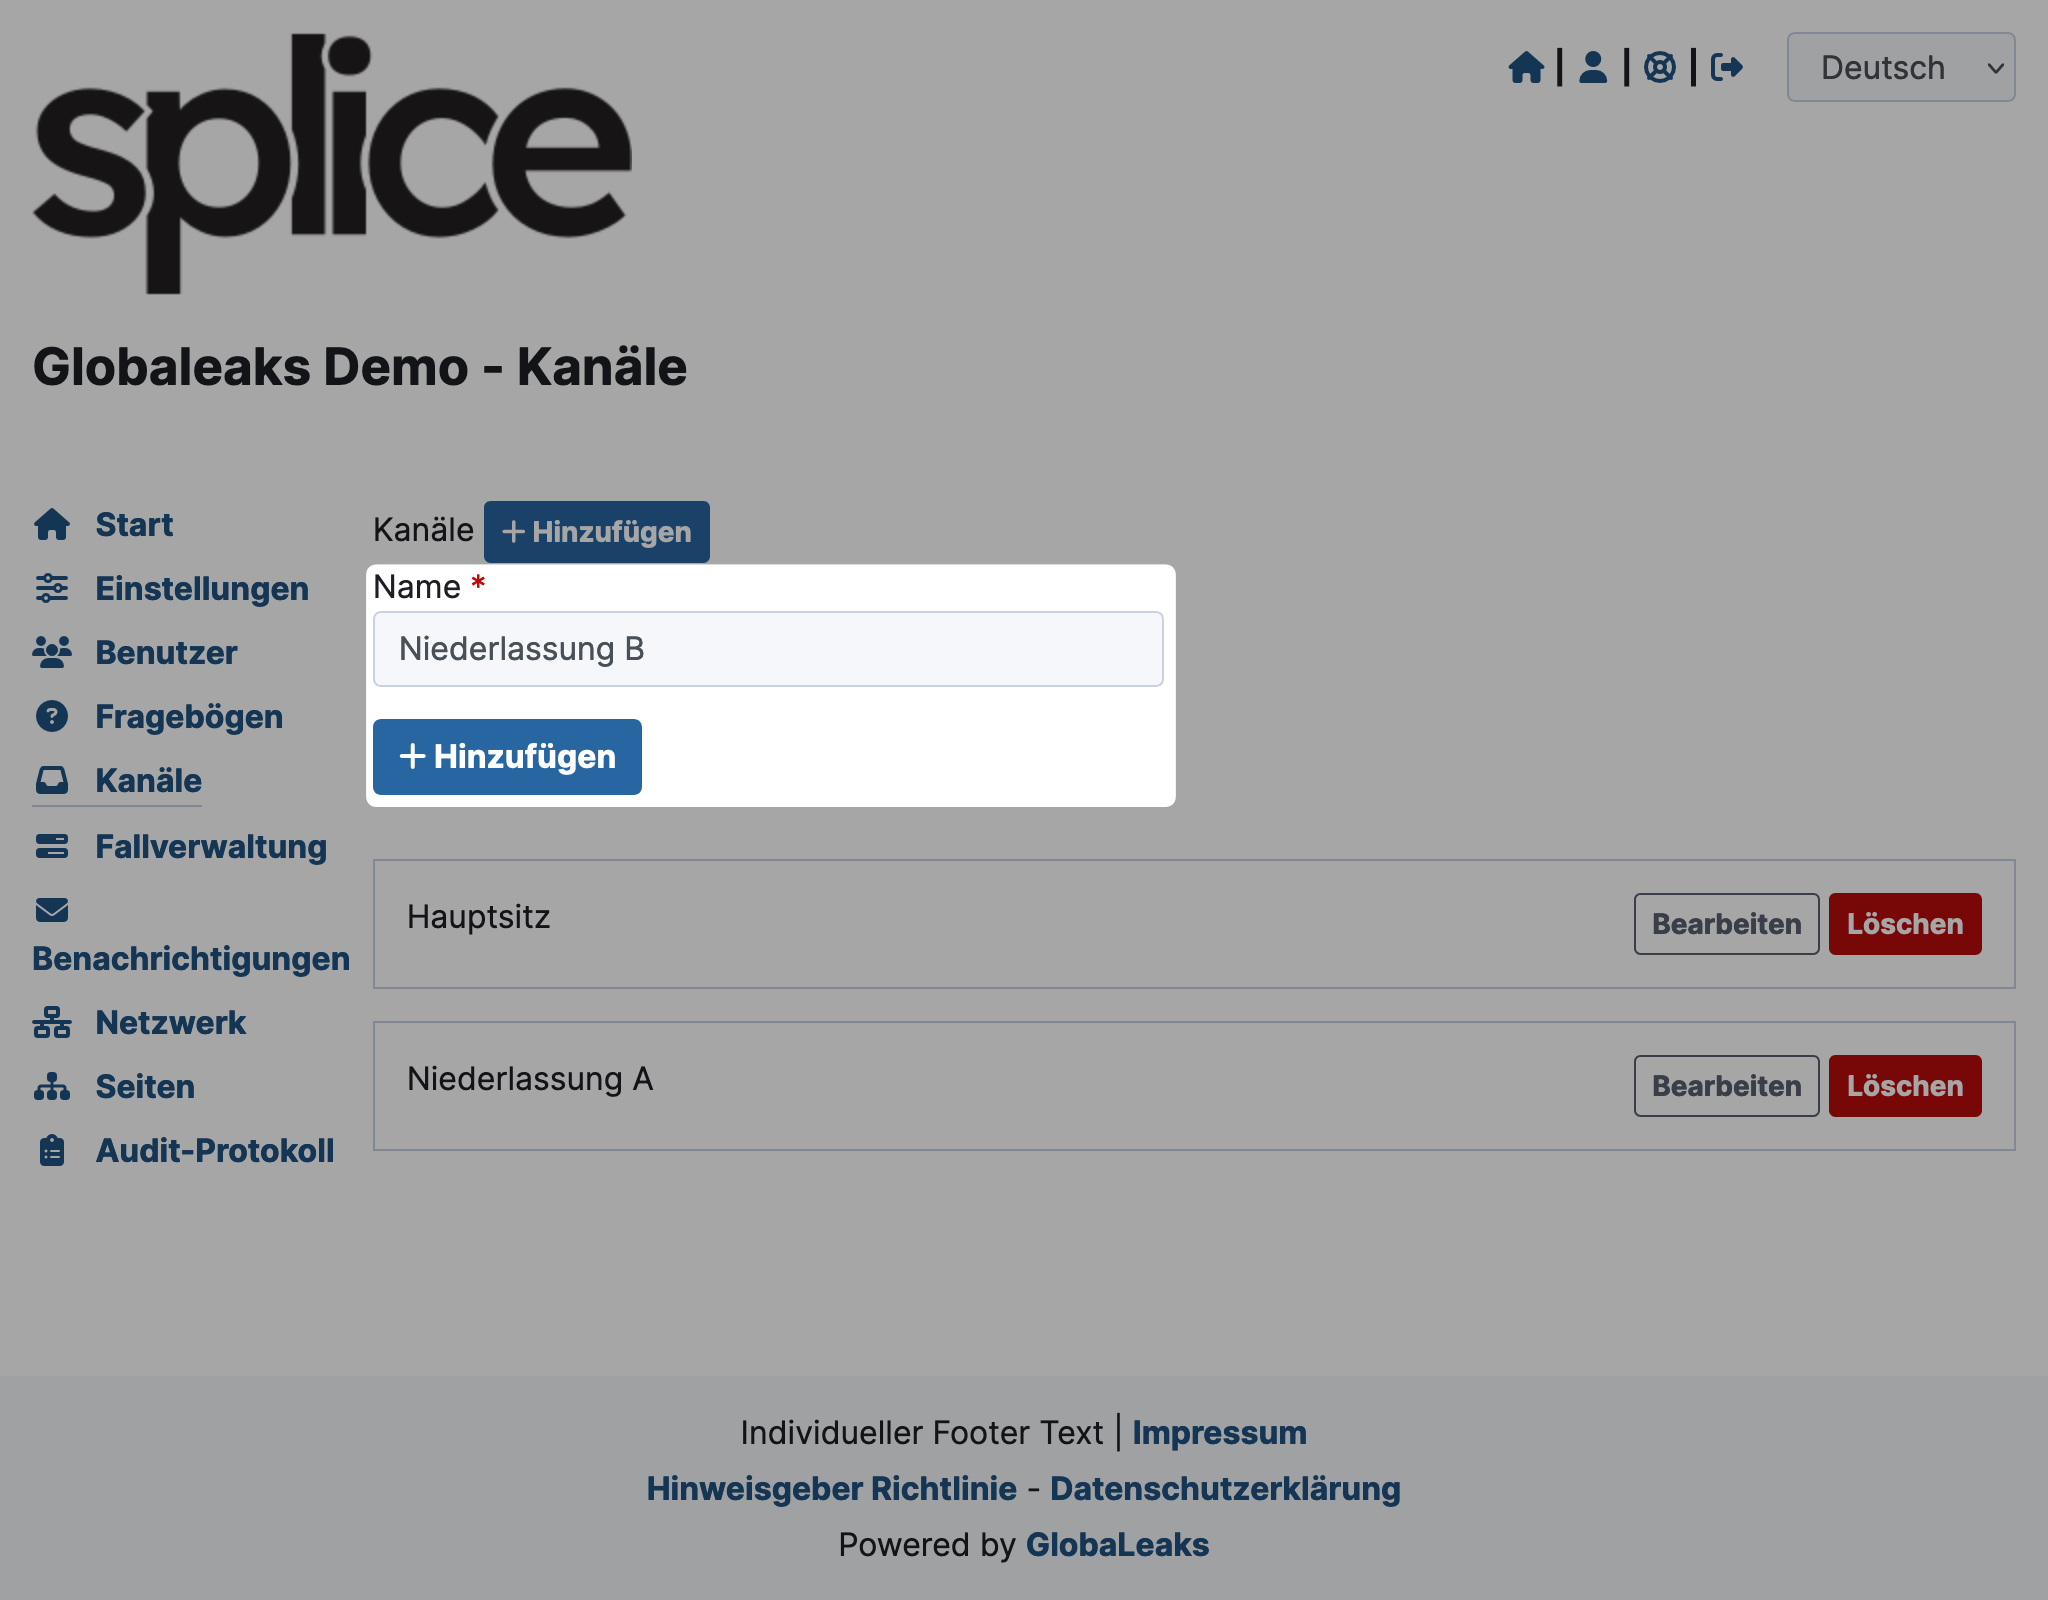
-
Your new channel will now appear hidden in the overview. Click Edit there.
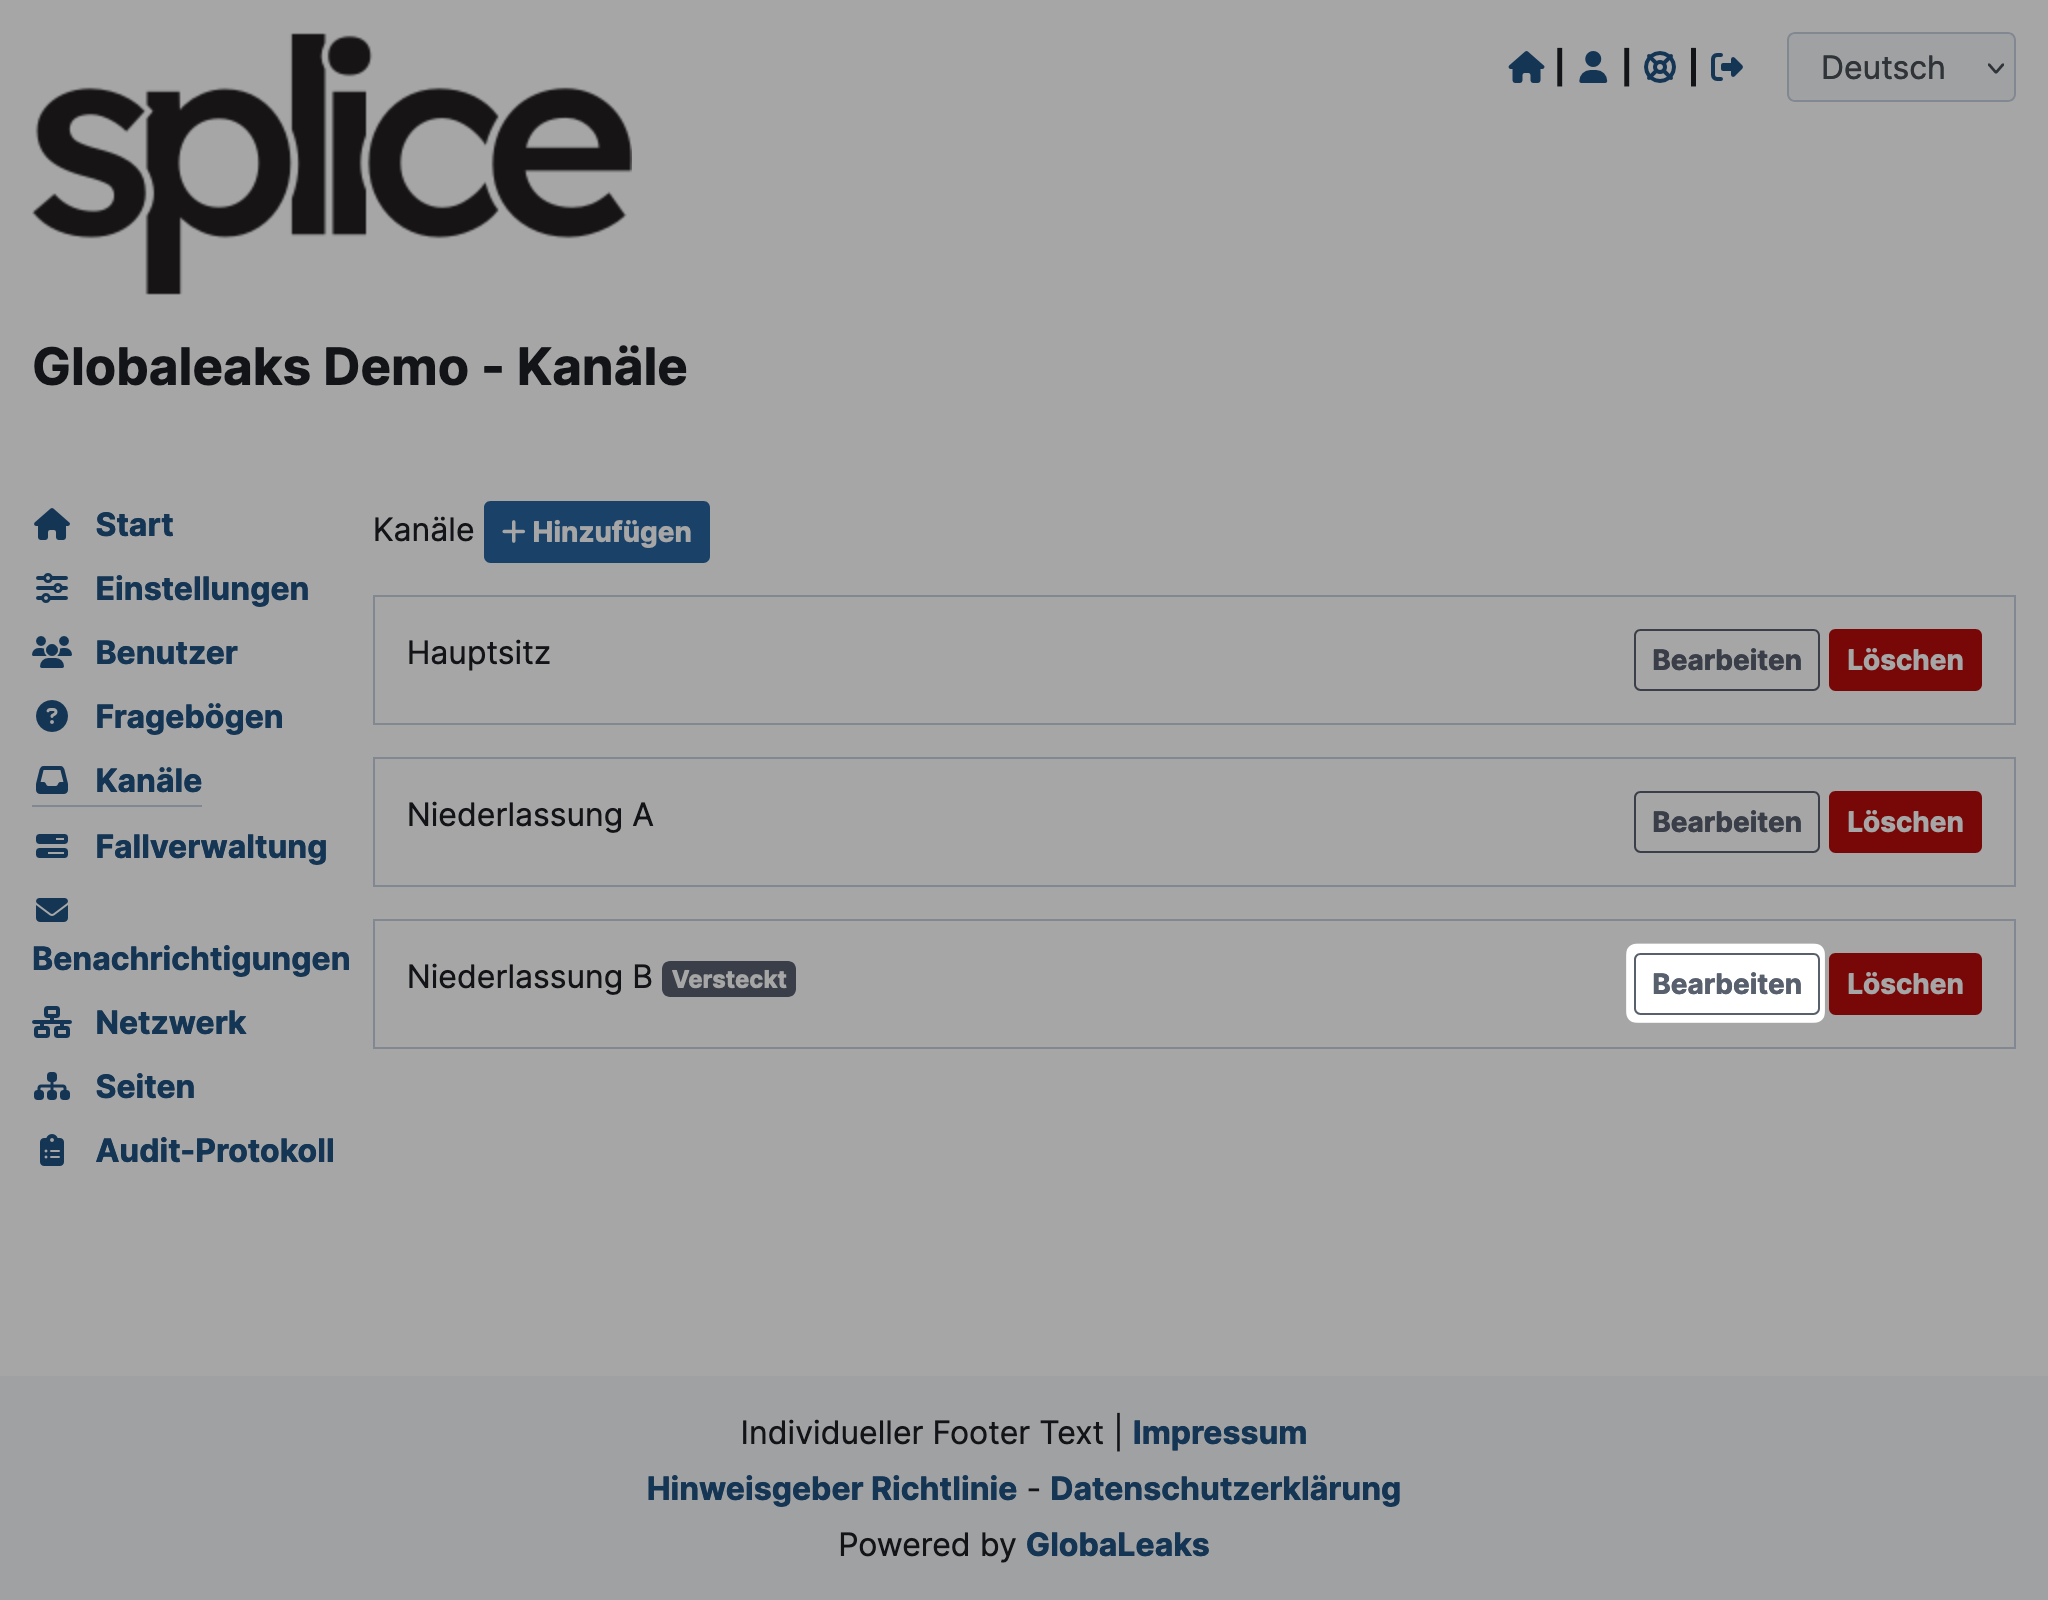
-
A form will open. Proceed as follows:
- Select the questionnaire.
- Set the recipients for new reports.
- Set the reminder date.
- Set the automatic expiration date (deletion date).
- Uncheck Hidden.
- Click Save at the top of the form.
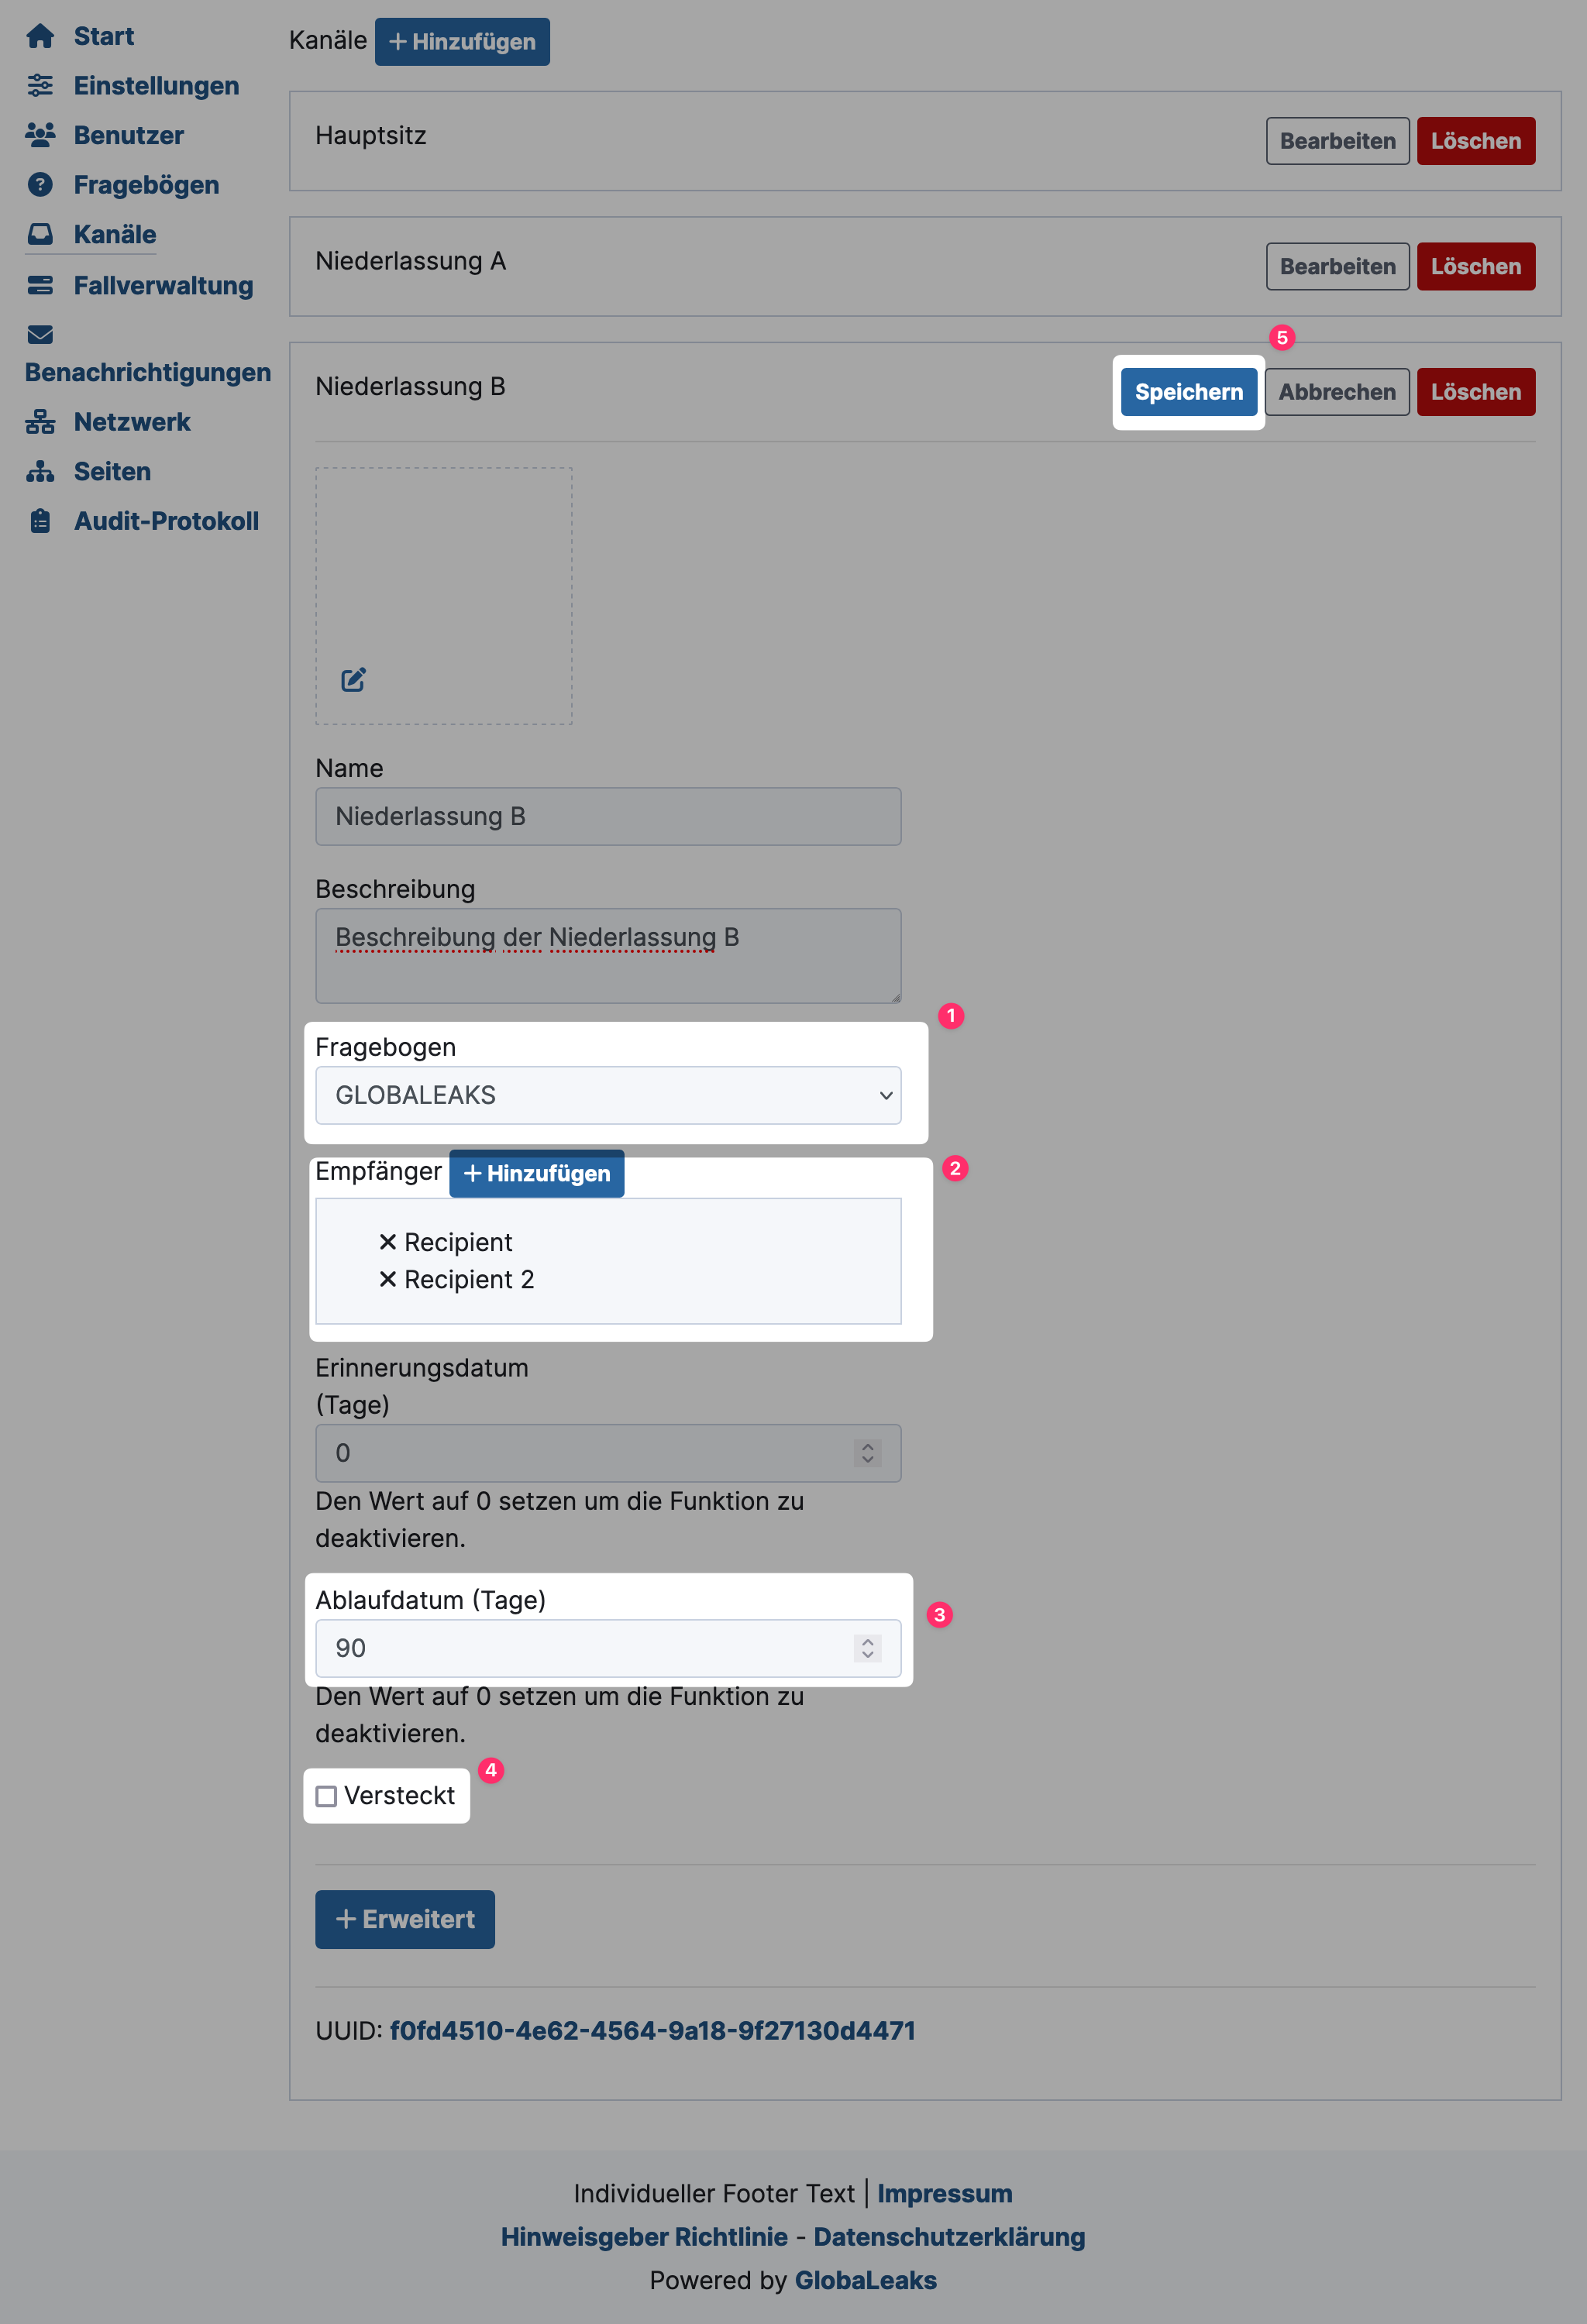
Remember to maintain this configuration in all other languages as well. More information can be found under Settings in Multiple Languages.
Your channel is now active. You can view it on the public page of the portal.
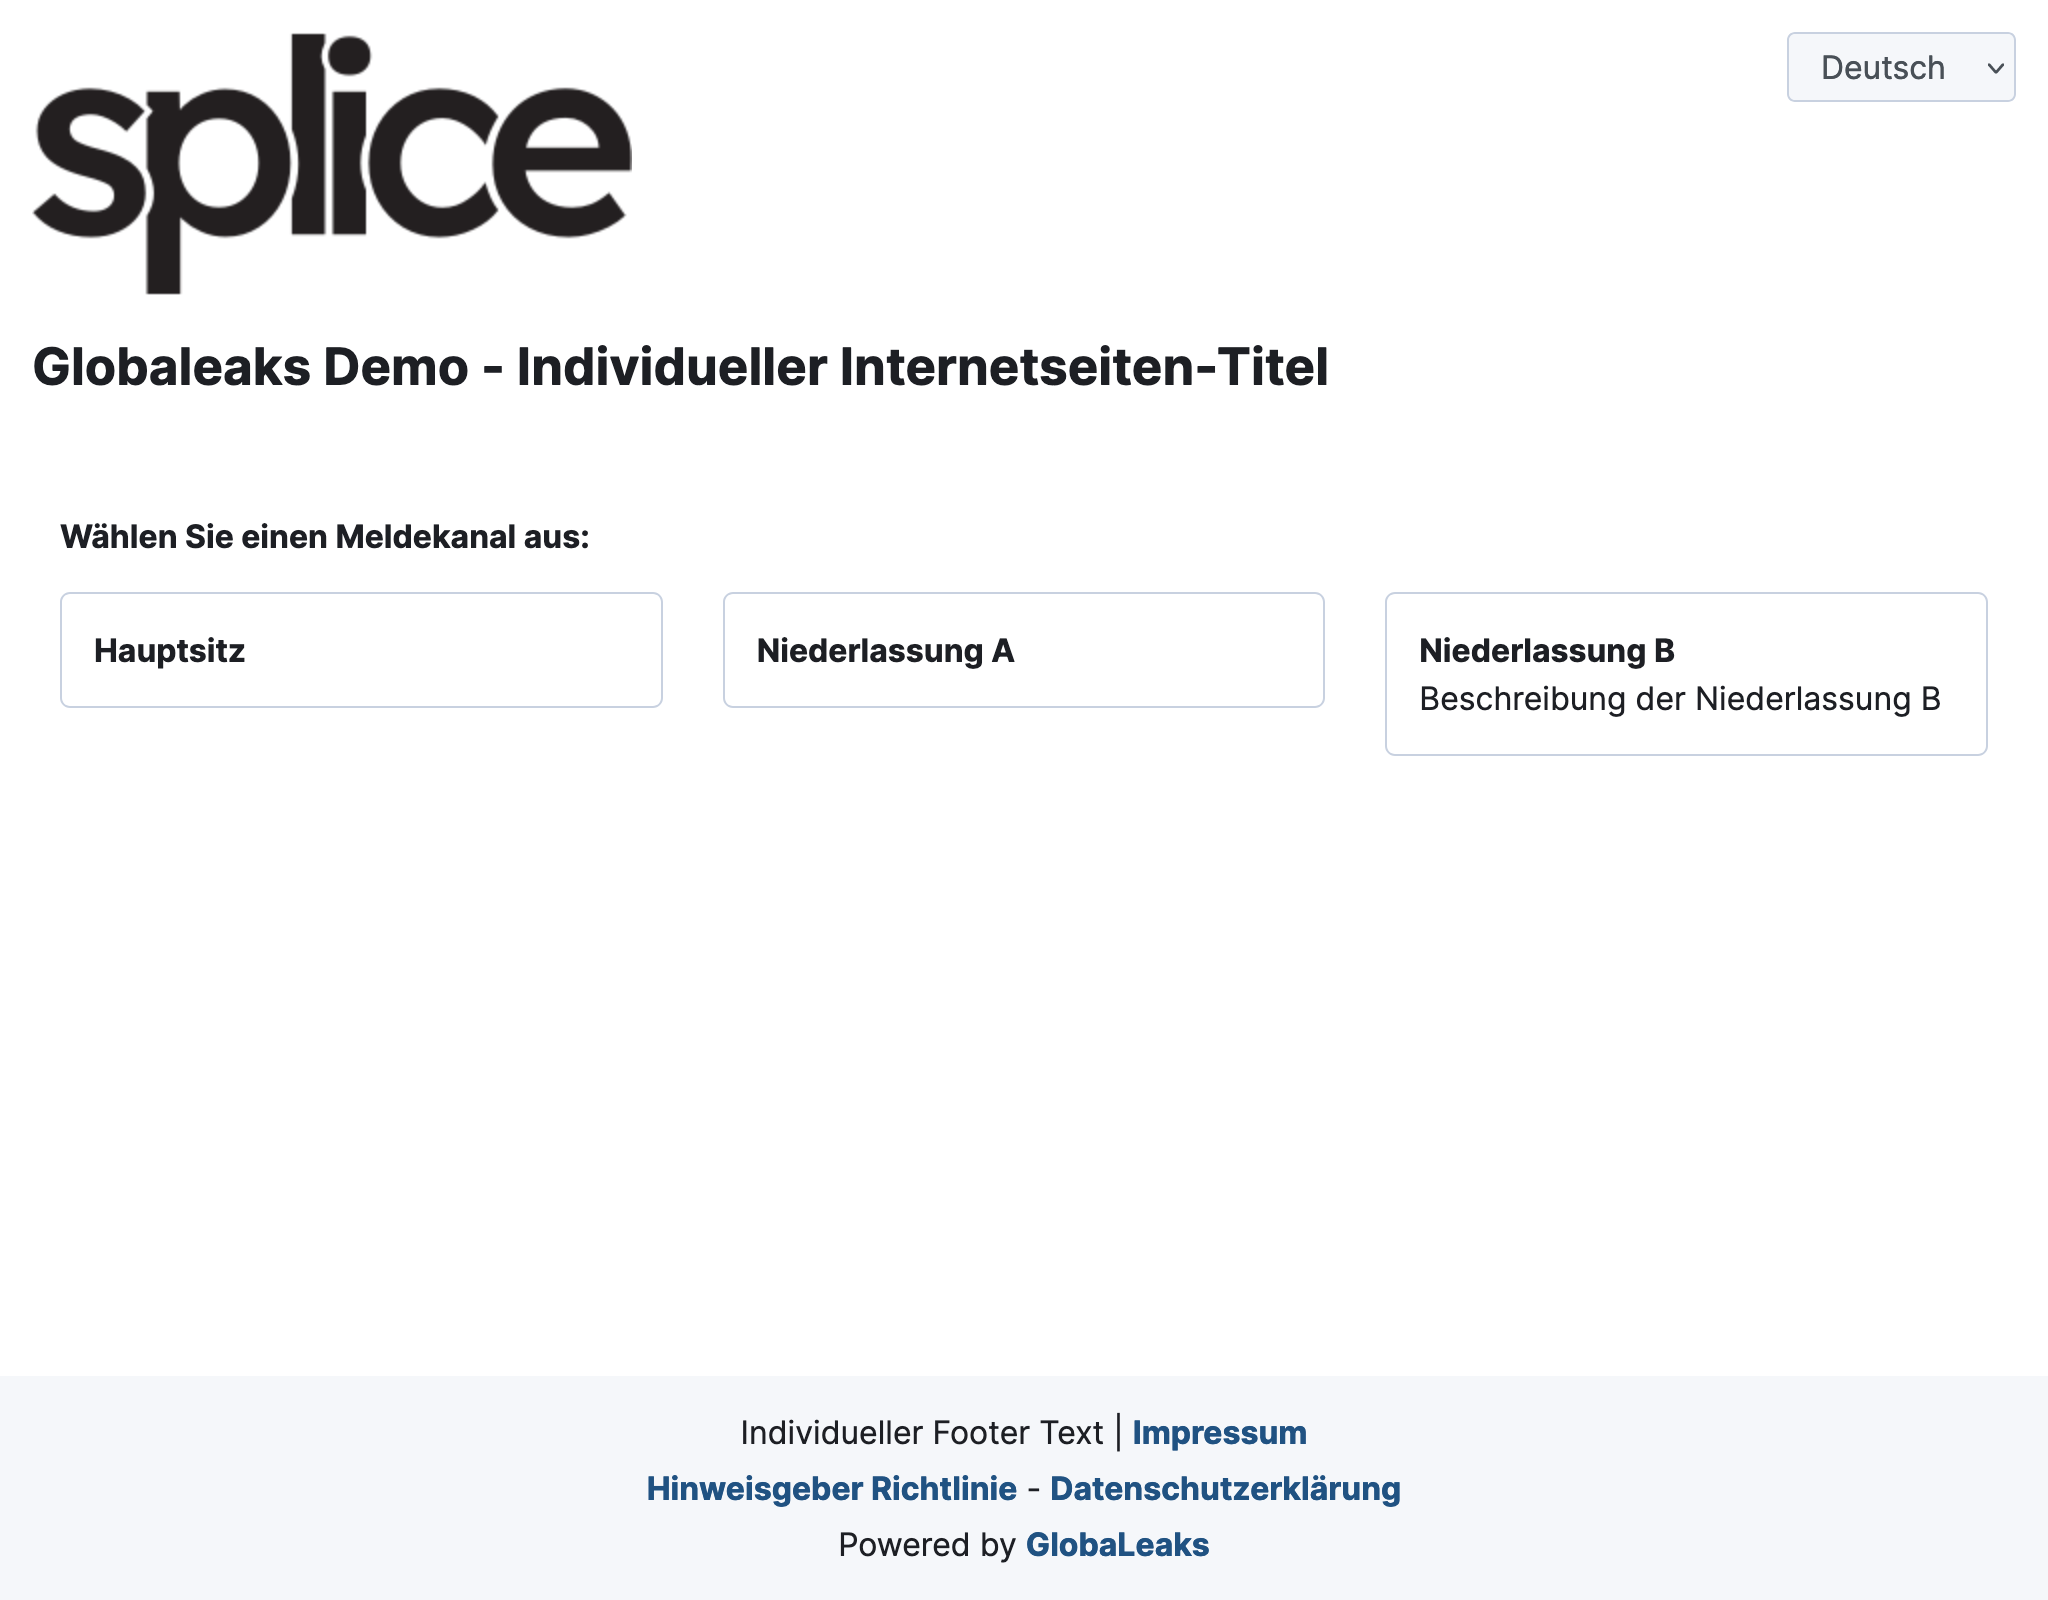
Edit Channel
-
Go to Channels and click Edit on the desired channel.
-
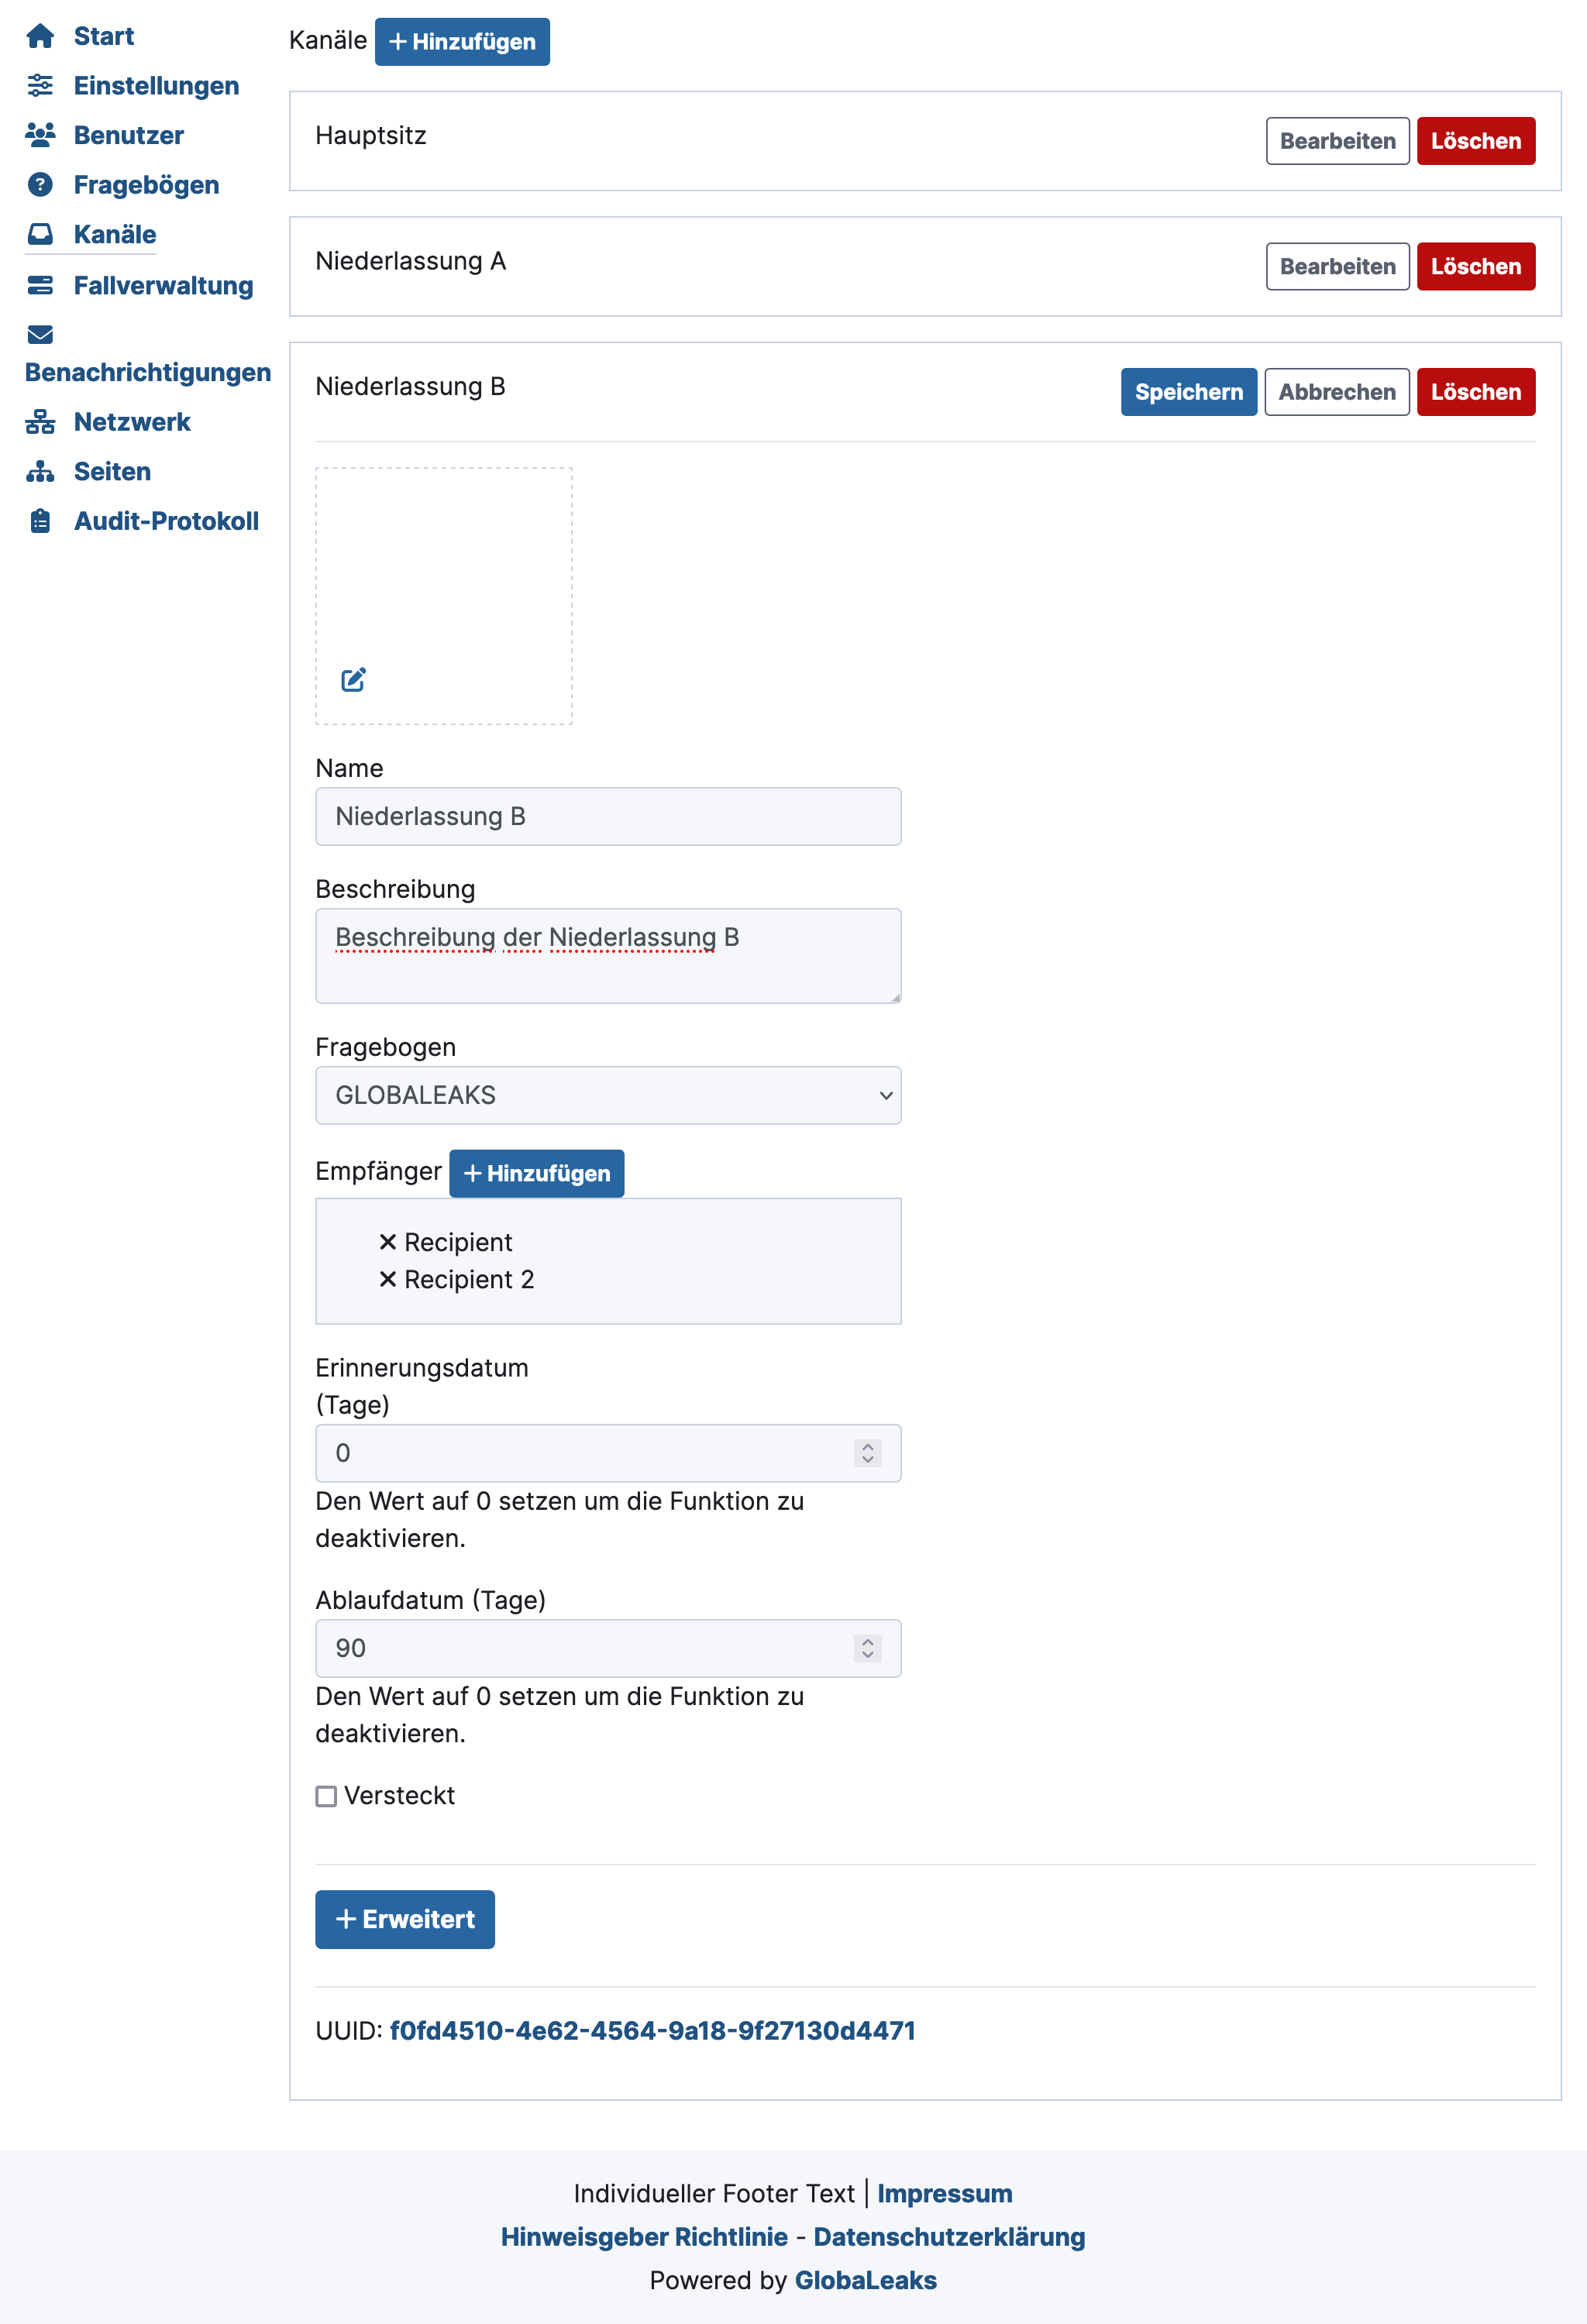
A form will open. You can now configure the following aspects:
- the name (publicly visible),
- a short description (publicly visible),
- the questionnaire,
- the recipients,
- a reminder date,
- an expiration date after which the report will be automatically deleted,
- hide the channel,
- make some advanced settings.
-
Click Save at the top to apply your changes.
Remember to maintain this configuration in all other languages as well. More information can be found under Settings in Multiple Languages.
Delete Channel
Deleting channels is irreversible.
You can also simply hide a channel if you are not sure whether the change will be permanent.
-
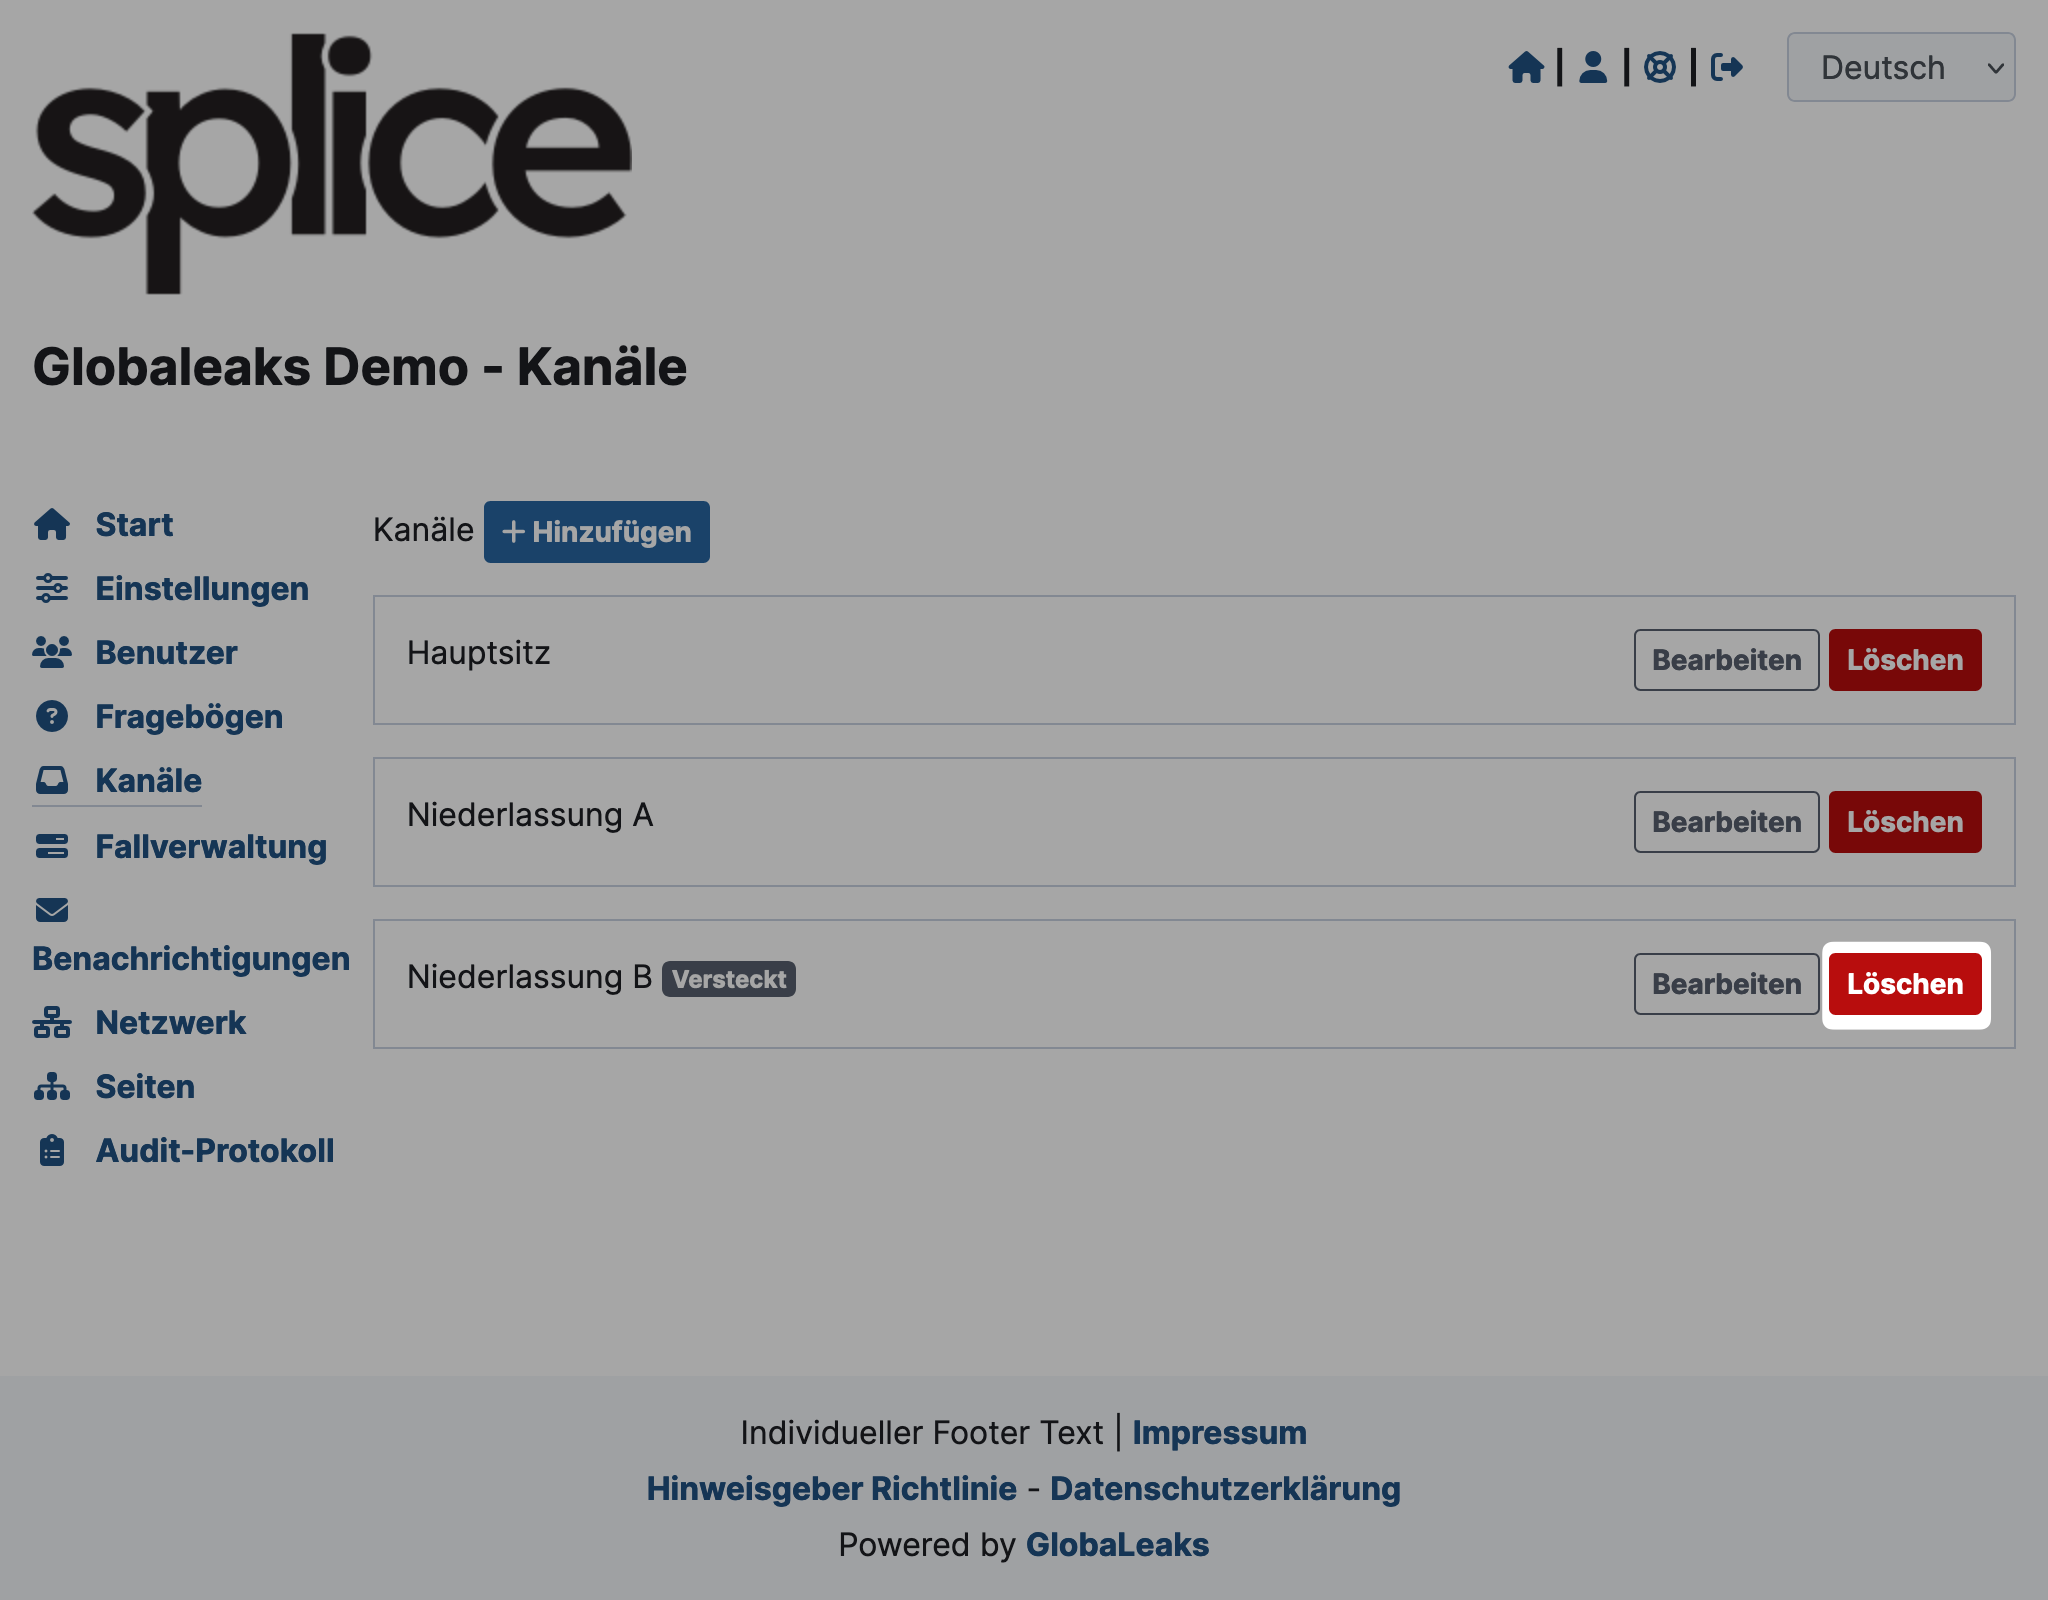
Go to Channels and click Delete on the desired channel.
-
A modal will open. Confirm the deletion by clicking Yes.
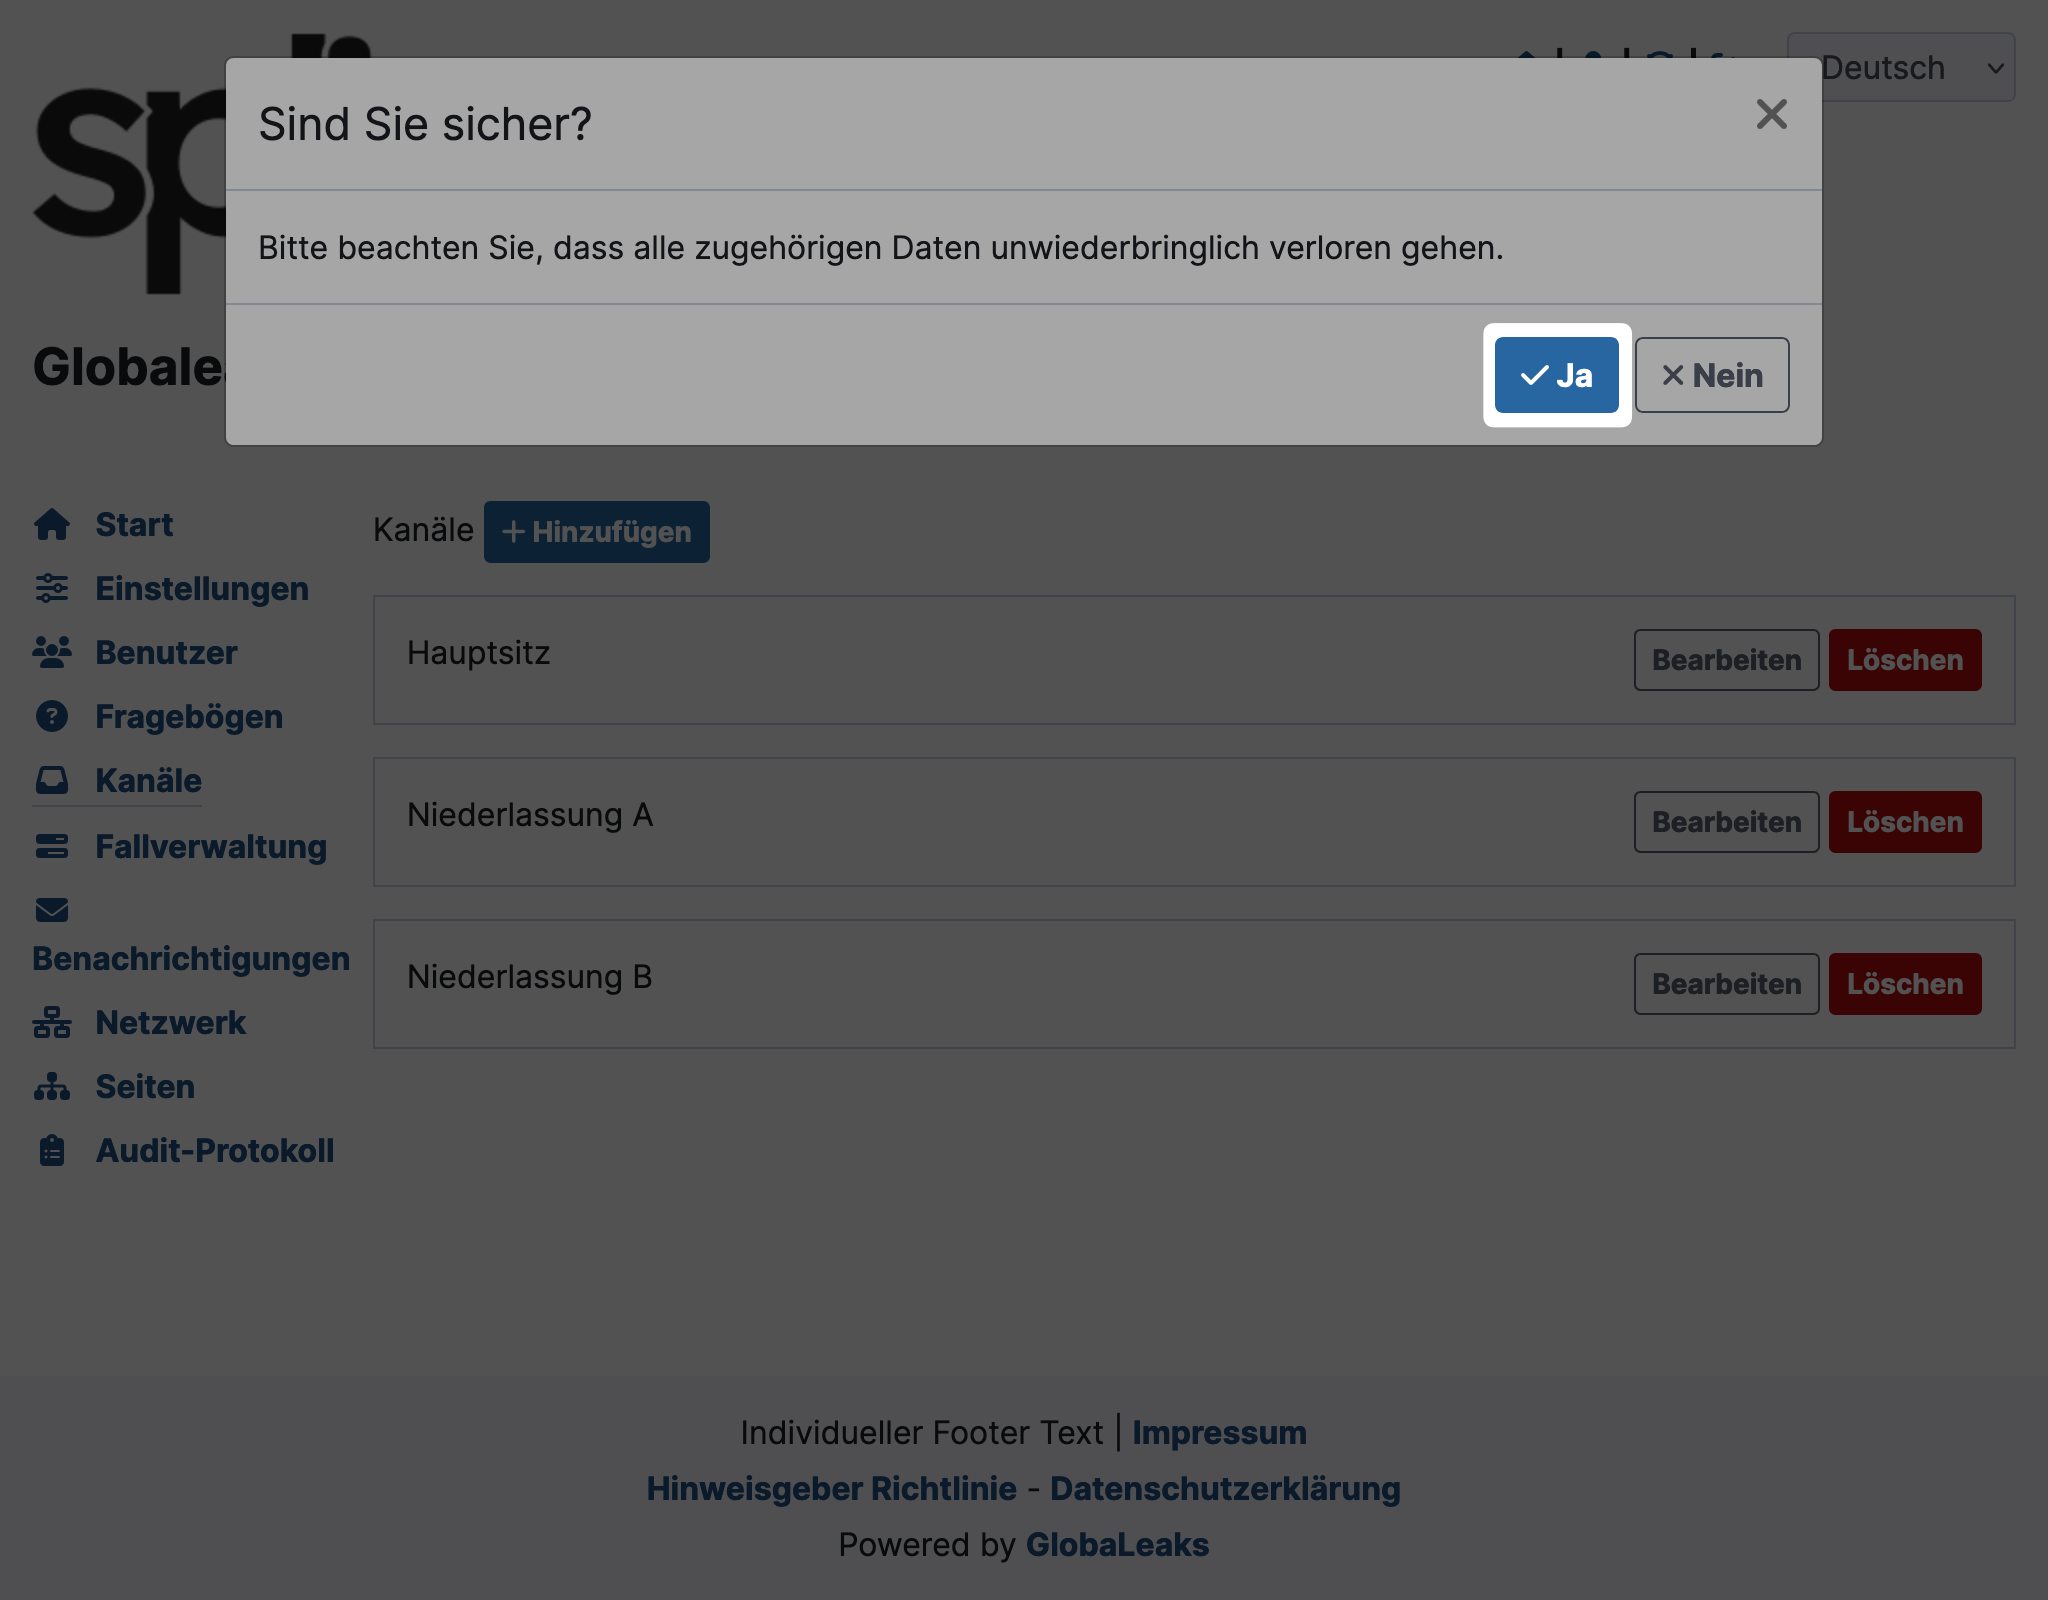
Your channel is now deleted from the overview and the public view.
Set Questionnaire
You can set a questionnaire for each channel. This is particularly useful for (marginally) different questions depending on the incident, department, etc.
How to make this setting is described in the section Edit Channel.
Set Recipients
You can define different recipients for each channel. Only defined recipients will have access to a report.
-
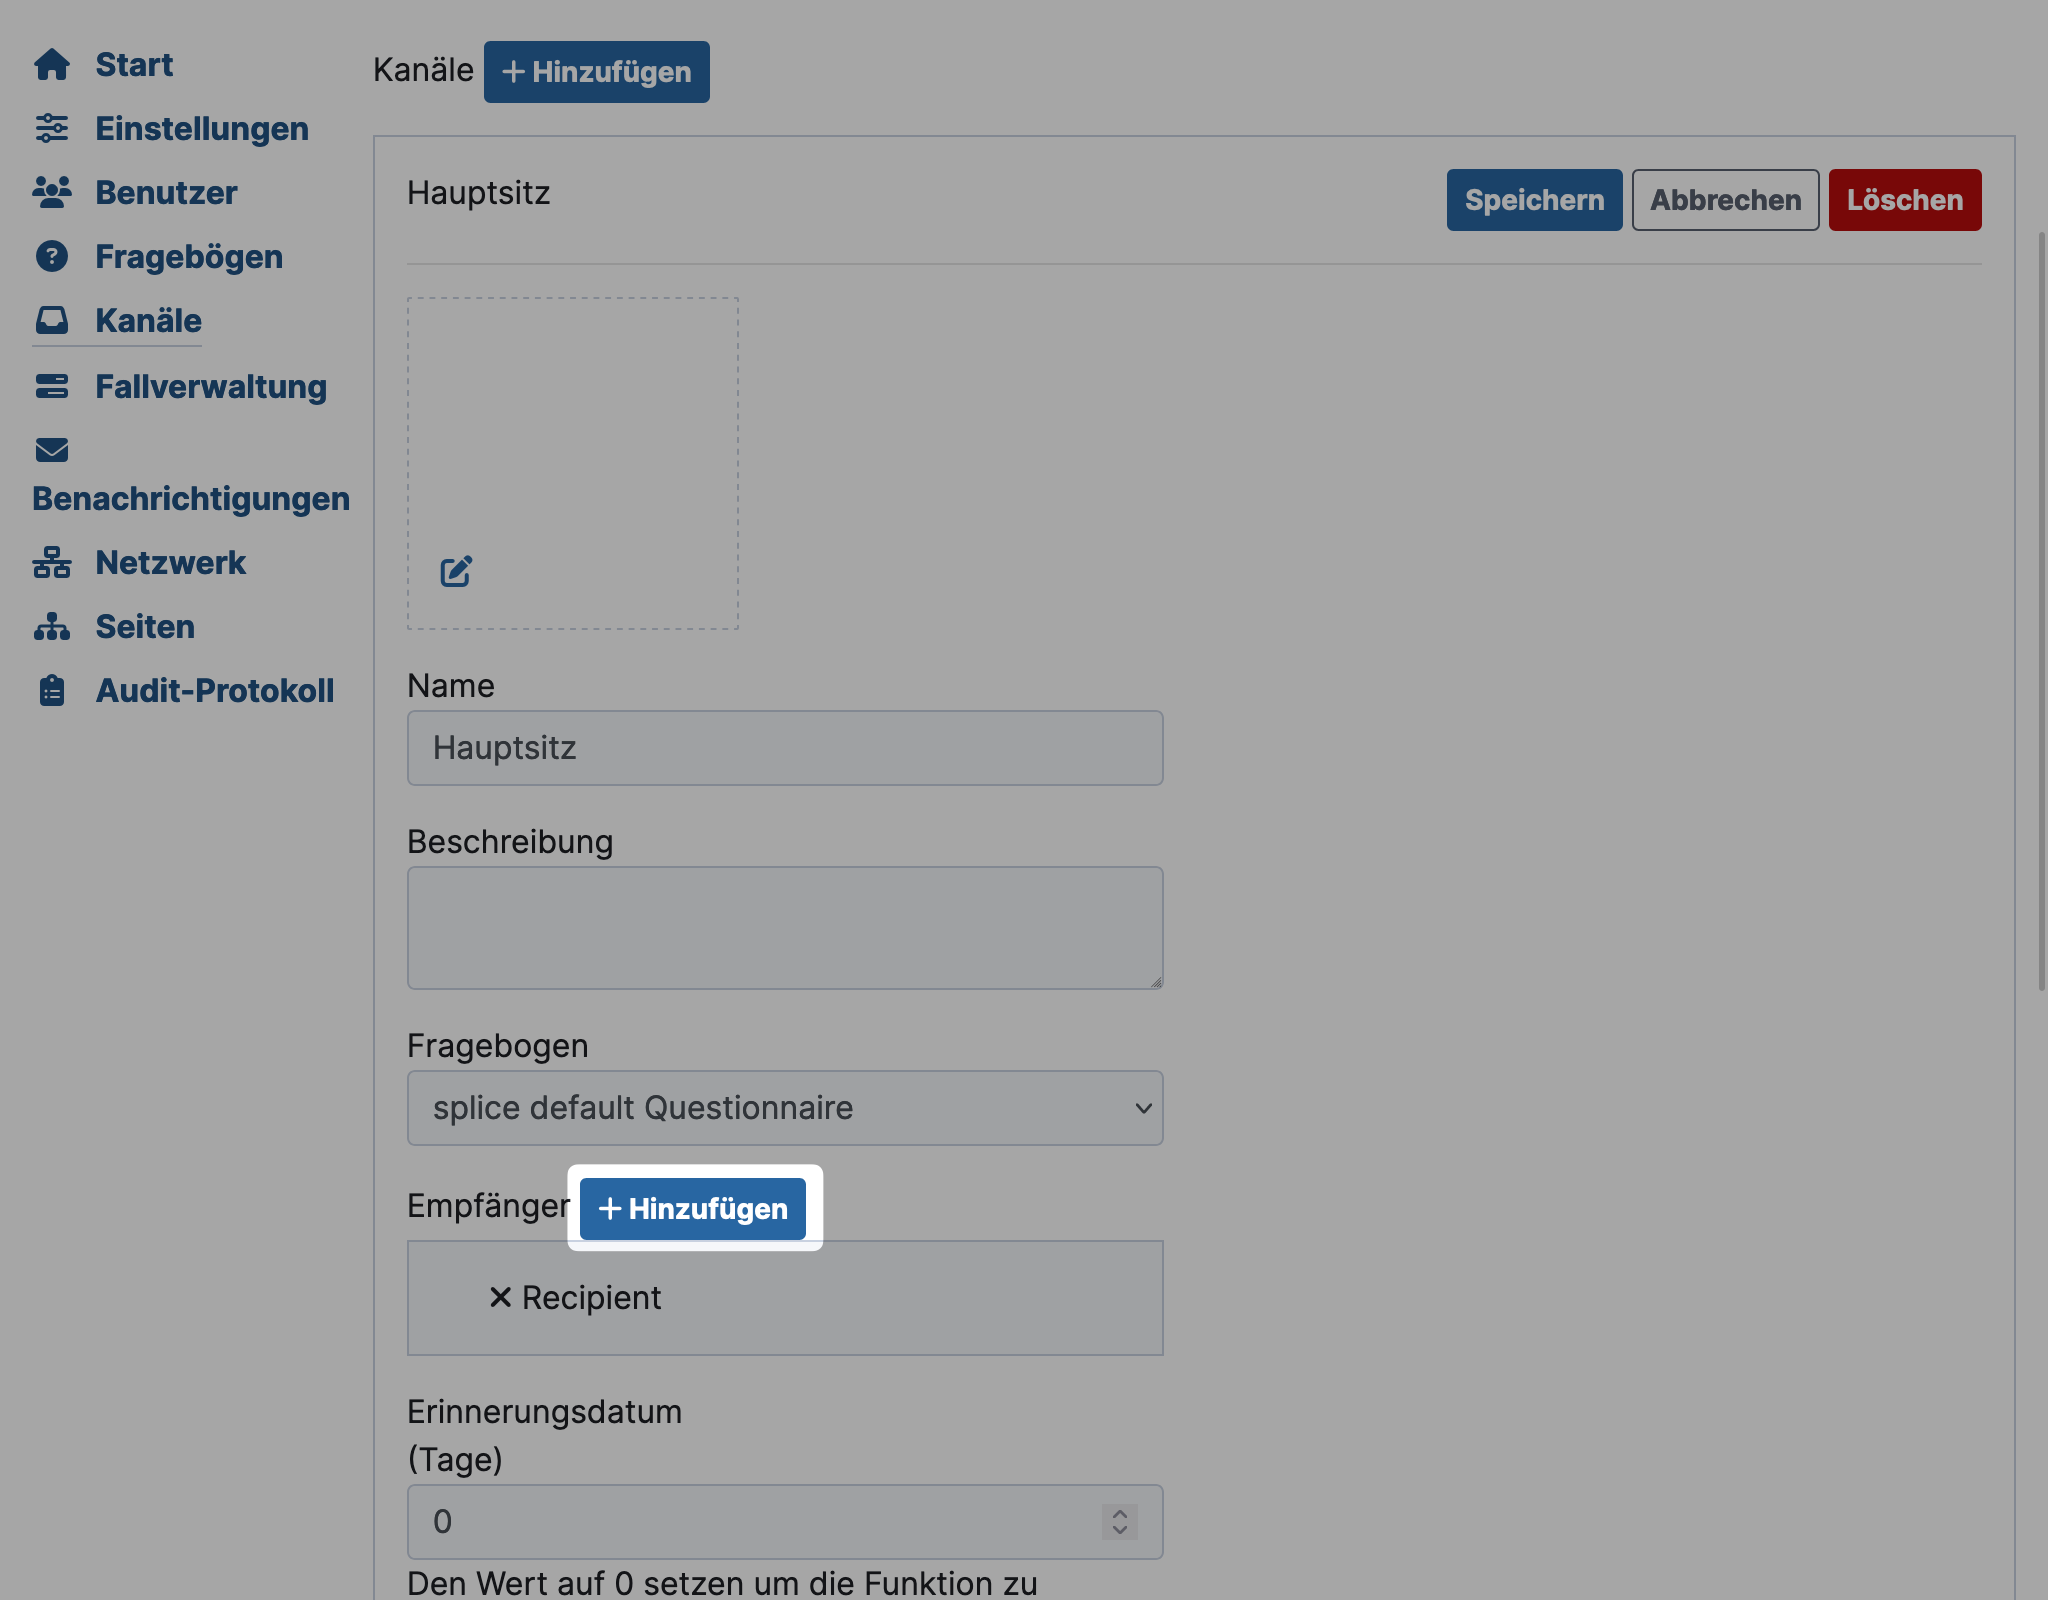
Go to Channels and click Edit on the desired channel. A form will open. Click Add just besides Recipients.
-
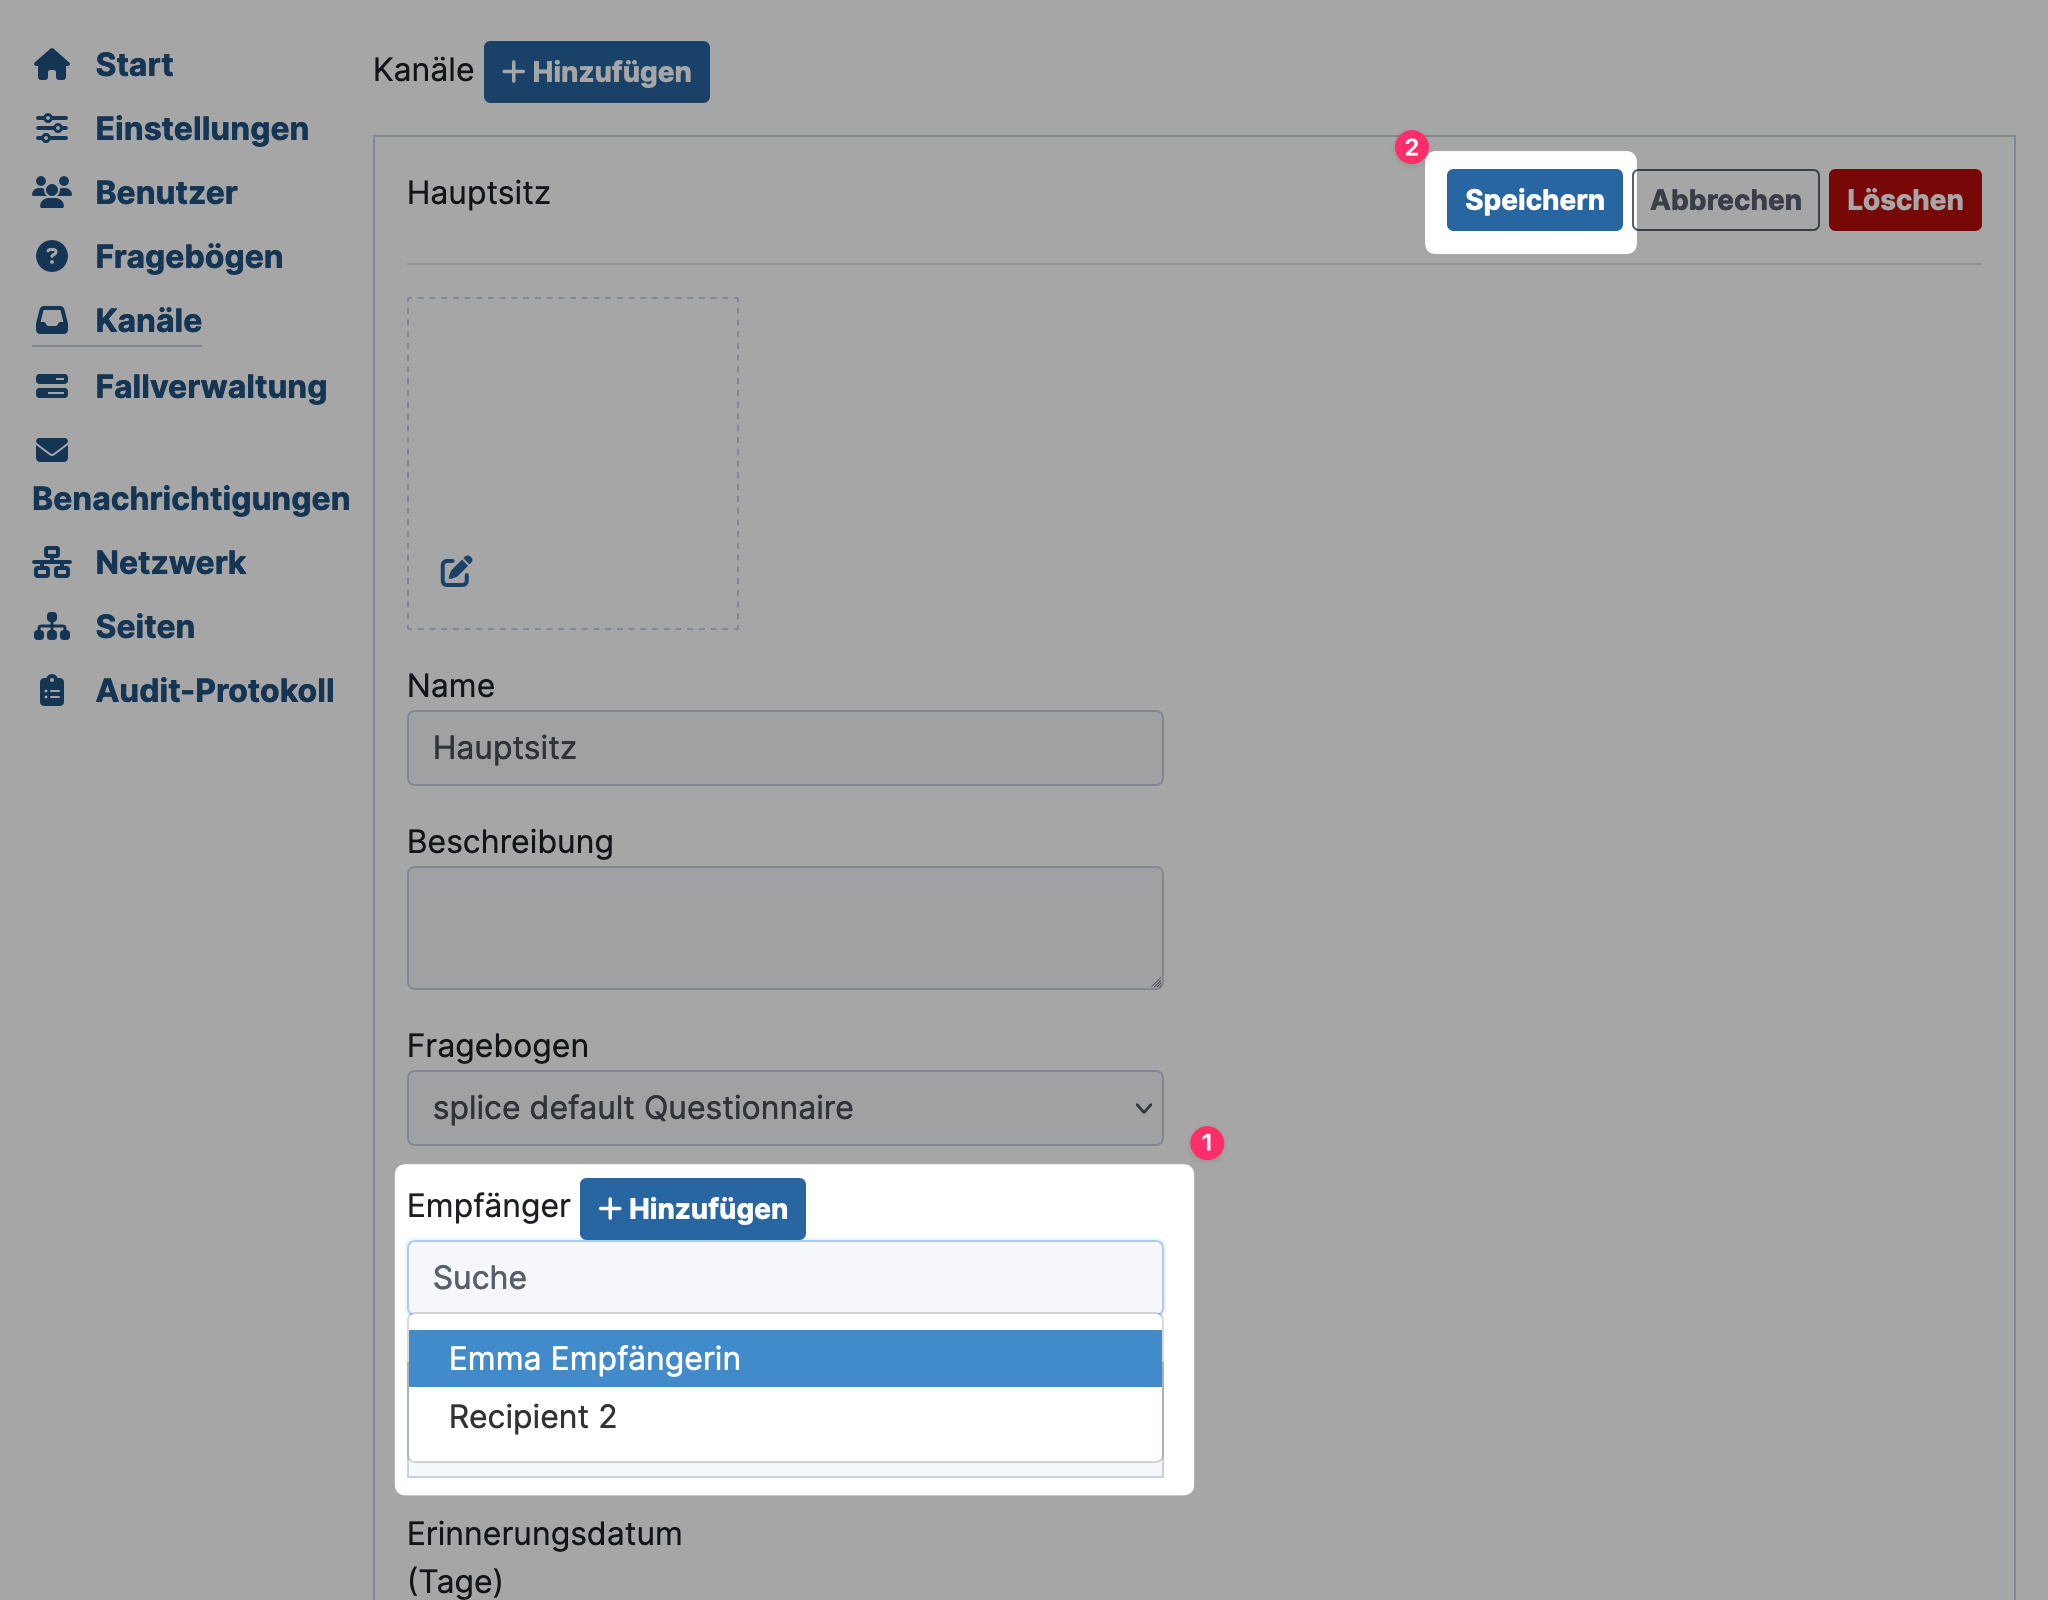
A search will appear. Select the additional recipients.
-
Click Save at the top to apply your changes.
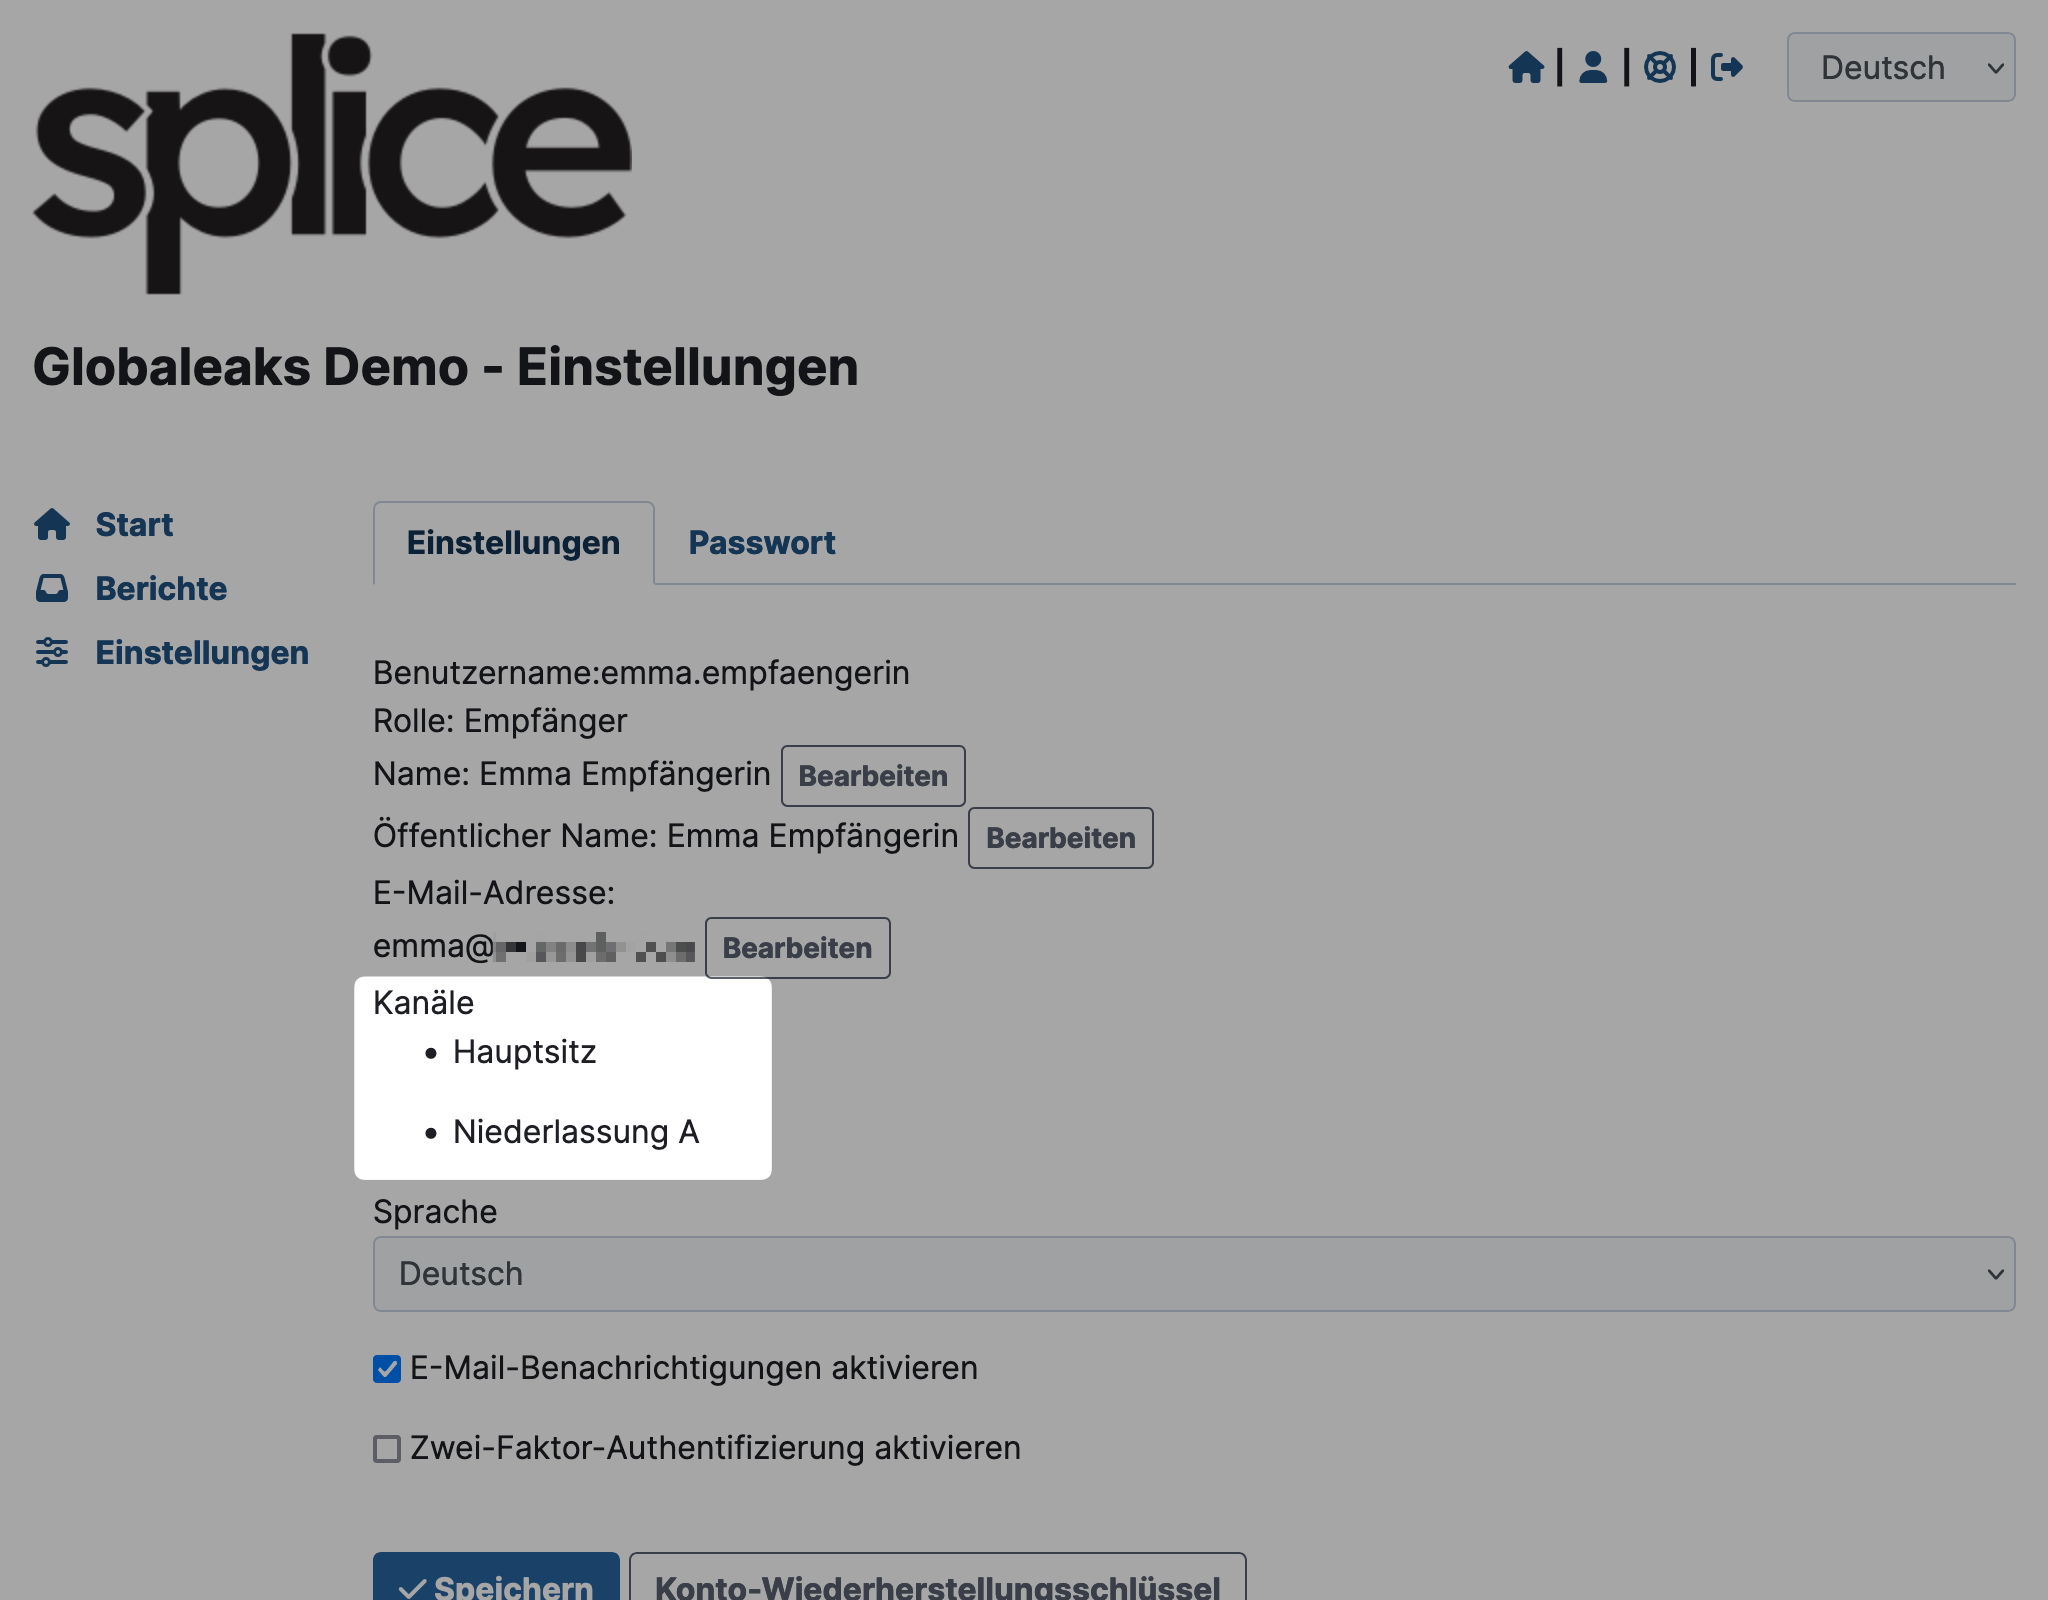
Recipients can see the channels for which they are authorized.
Reminder Date for Reports
The reminder date is triggered if a report has not been opened by this date. You define the number of days since the report was submitted.
If you enter a value greater than 0 here and email sending is configured, you will receive an email.
How to make this setting is described in the section Edit Channel.
Ideal if you don't want to miss the seven-day acknowledgment deadline. Set this value to, for example, 4 (covers the weekend).
Set Expiration Date
On the expiration date, GlobaLeaks deletes a report from the system. This allows you to set automatic deletion.
How to make this setting is described in the section Edit Channel.
For a 3-year period with some safety margin, choose 1100 days.
To disable automatic deletion, choose 0 days.
Allow Whistleblowers to Select Their Recipients
With multiple locations you may have multiple internal reporting offices or dedicated ombudspersons. With this feature, you can configure delivery to only the responsible persons.
-
Go to Channels and click Edit on the desired channel.
-
A form will open. Click Advanced there.
-
An additional section will open. Check Allow whistleblowers to select their recipients. Another section will open. Select
- whether you want to select all recipients by default (can be changed by the whistleblower),
- the maximum number of selectable recipients (if 0, the selection is not limited),
- whether you want to show recipients in alphabetical order.
-
Click Save at the top to apply your changes.